Contact Us


Assigning Outputs
There are different possibilities of how to assign an output to an image device within Pixera.
In the following article the ways are explained.
Assigning an Image Device to an Output
Any Image Device (projector, display, etc) needs to be assigned to an output. There are three ways to perform the assignment.
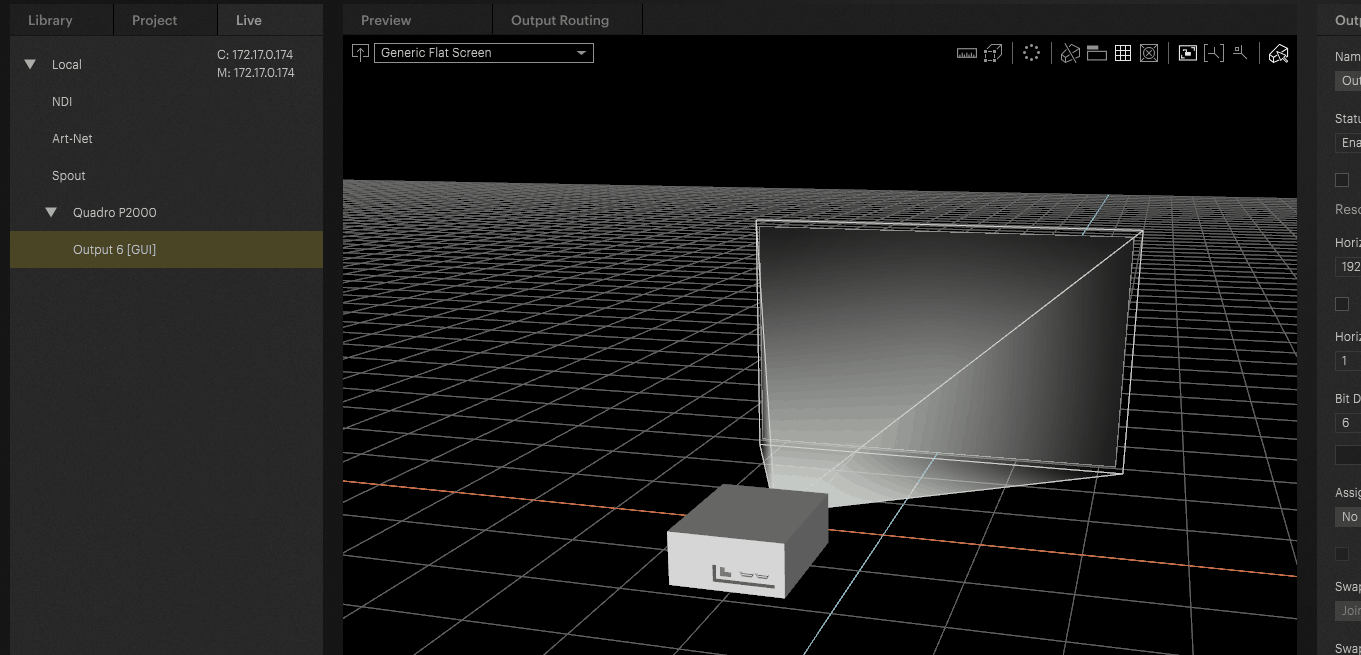
Assigning via Output Inspector
Select the Image Device in the Workspace, open the Live tab in the Selection Pane and select the desired output to open its properties in the Inspector. In the properties, click the button named Assign Output To Selected Image Device, or choose the projector in
the Assigned to Image Device drop down menu below.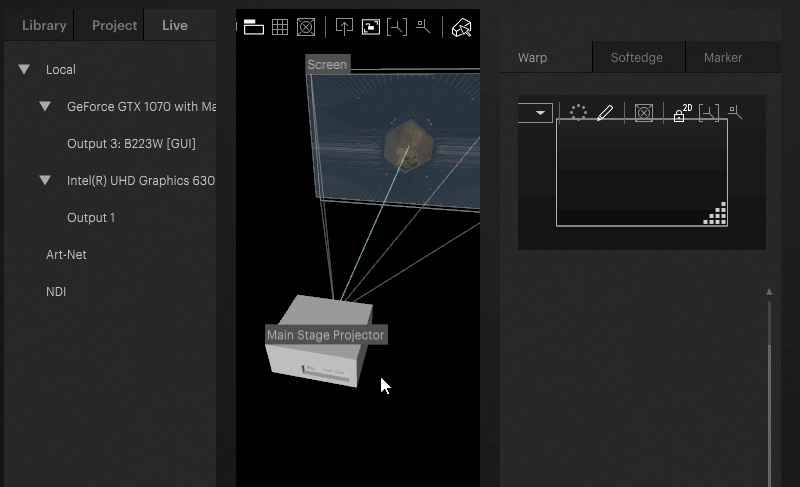
Assigning via Live Tab
Select the Image Device in the Workspace and assign it to an output in the Live tab by right-clicking it
and choosing Assign Output To Selected Image Device.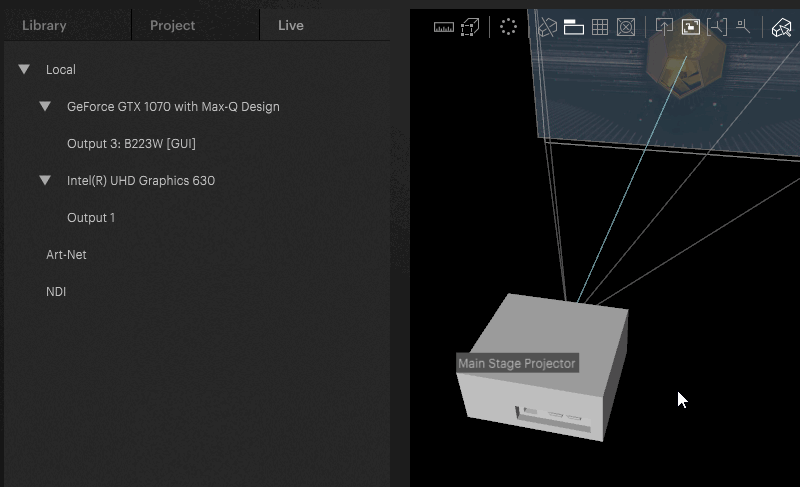
Assigning via Projector Inspector
Select the Image Device in the Workspace to open up its properties in the Inspector, scroll to the Output field and select the desired output from the hierarchy by selecting the checkbox next to it.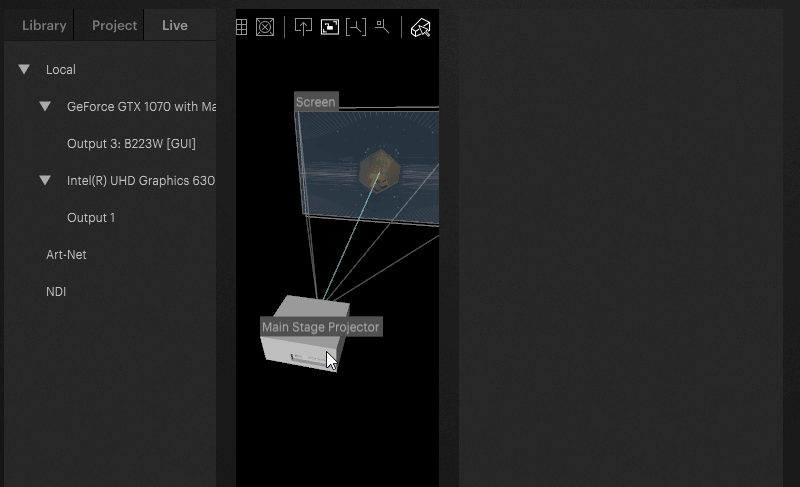
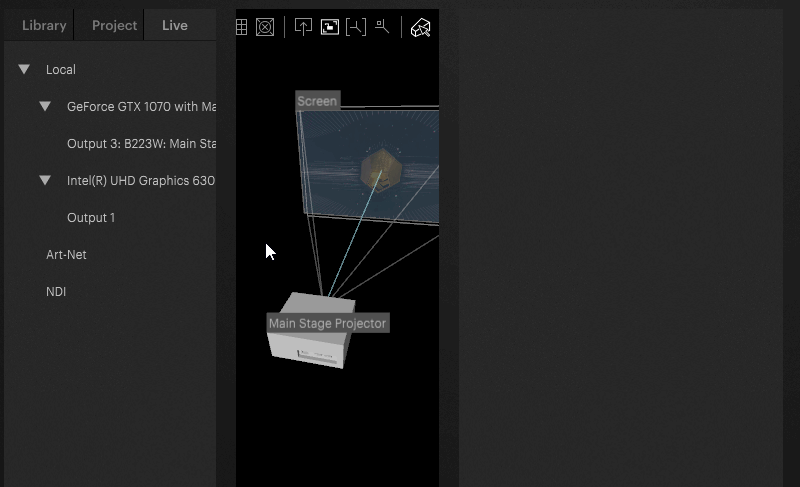
Assigning Outputs via drag and drop
Select the Output in the Live tab on the left and drag and drop the output on the image device.
As in this example shown, Pixera asks if the projector aspect ratio should be adapted to the aspect ratio of your output if it is different.
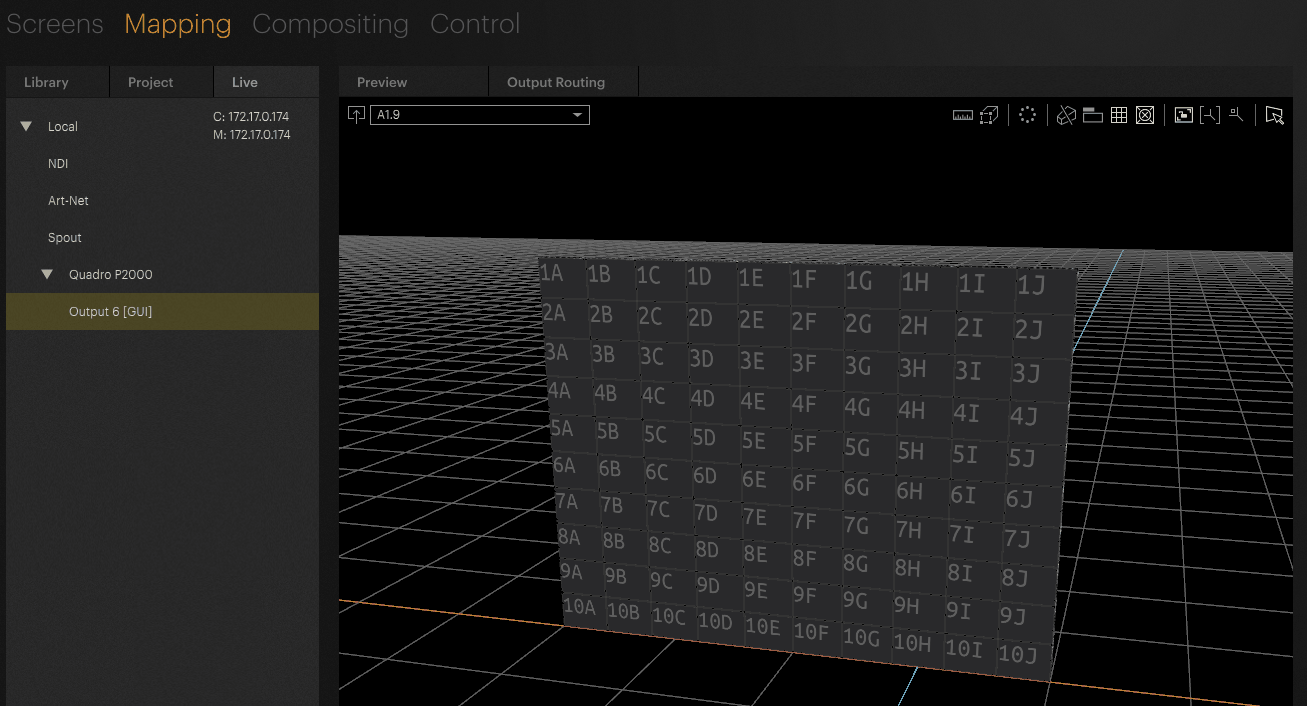
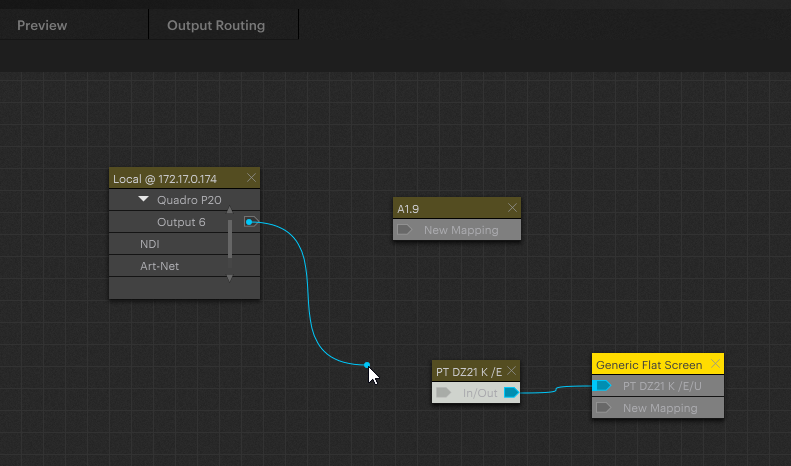
Assigning Outputs via Output Routing
By selecting "Output Routing" on top of the Workspace in Mapping Tab Pixera offers a node-based output routing window. In here it is possible to assign and de-assign physical and virtual outputs to a specific image device by draging a line.
In here it doesn't matter which "Selection Mode" (Screens or Projectors) is set.

Unassigning Outputs
Outputs can be unassigned in the Inspector after selecting either the output or the Image Device.
- First select the respective output in the Live tab to open its properties in the Inspector, expand the Assigned to Image Device drop down menu and choose No Assignment
- Alternatively select the Image Device in the Workspace to open its properties in the Inspector, expand the Output drop down menu and uncheck the checkbox next to all assigned output.
- Another alternative would be to de-assign the output by disconnecting the line in "Output Routing"