 Contact Us


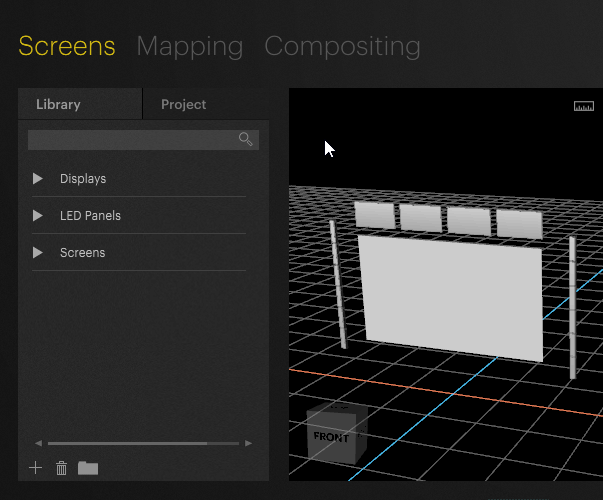
Screens Selection Pane
In the Screens mode, the Selection Pane features two tabs: Library and Project.
Library
Library contains an extensive database of all AV-Stumpfl projection screens and LED panels from many brands available on the market. This database is regularly updated with each release. As all the items in the database have real-world dimensions, one can quickly start to plan the project in the Workspace to get an precise preview of how it will look like in real life.
Display, LED Panels and Screen
The Library contains three sections.
- Displays contains TV or Digital Signage type screens.
- LED Panels contains modules from different brands.
- Screens contains a full database of AV-Stumpfl projection screens.
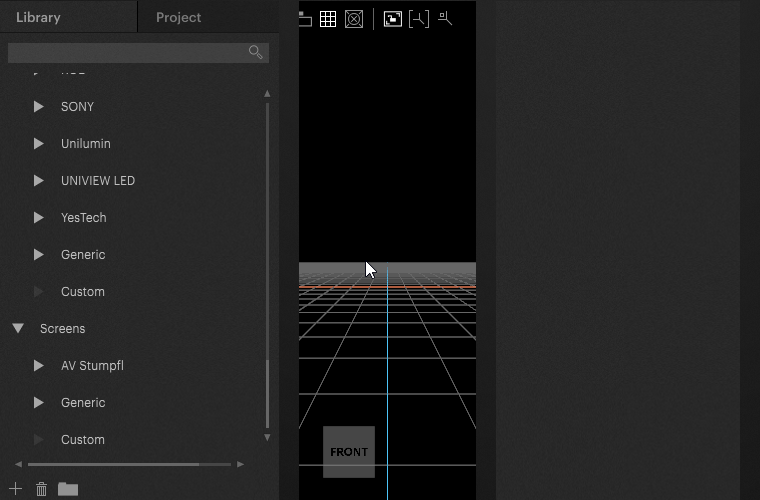
Browse through the sections by clicking the triangle icon on the left, which opens up the hierarchy below.
Searching the Library
Due to the many entries of the items in the library it is often more convenient to search for the item needed. The search field on top of the library pane performs a fuzzy search over brands and display types over all three sections.
Generic screens
All three sections also contain a Generic module that can serve as a base for a custom-sized screen. While screen models from brands cannot be modified in the library, the Generic modules allow parameters like size or resolution to be changed in the Inspector.
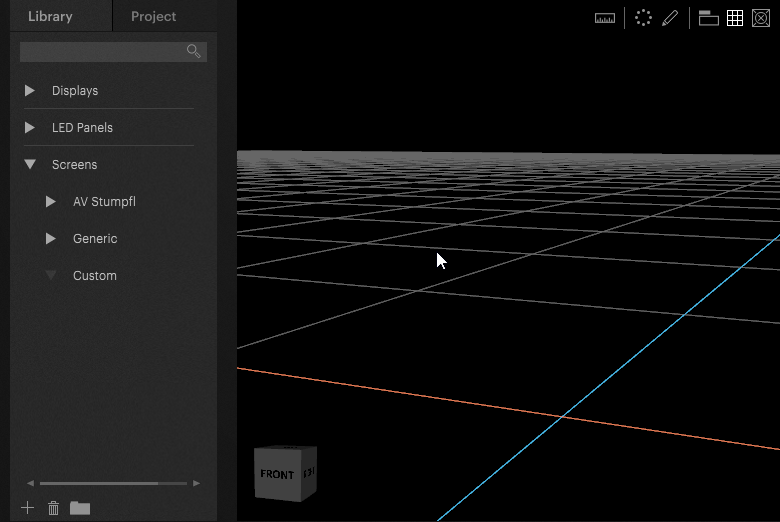
Custom screens
Custom 3D models for screens can be imported by selecting the Custom section in the respective category and clicking the '+' sign on the bottom of the Selection Pane. Allowed model formats are FBX, GLTF and OBJ.
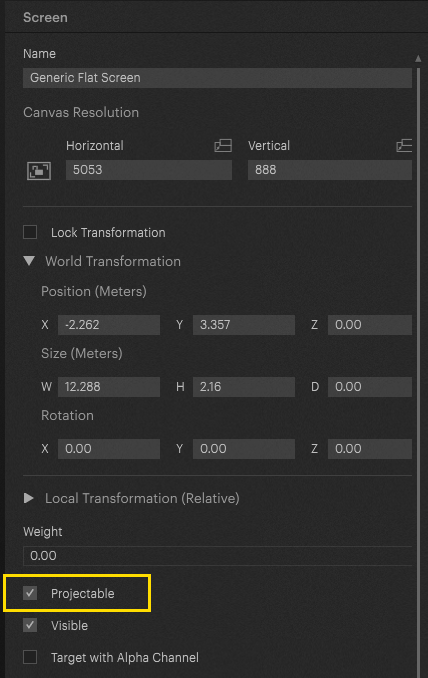
By importing a 3D object in the custom section of LED Panels the new object will be handled as "self illuminating device" which can be assigned directly to an output.
By importing a 3D object in the custom section of Screens it will be handled as projection surface.
In both cases the newly added custom object has to be set to "Projectable" in the inspector on the right hand side to be able to assing an output or a projector and to drop content onto this object.
Custom folders
In the Custom section it is possible to create own subfolders to better organize models. To create a folder, select the Custom section in the respective category and click the Add Folder icon on the bottom of the Selection Pane.
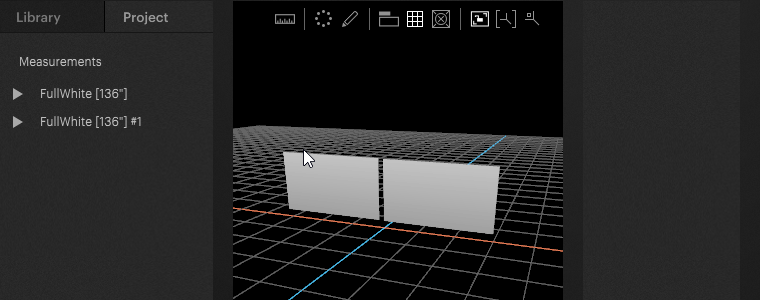
Project
Project lists all displays, LED Panels and screens used in the Workspace. Selecting an object in the Project tab behaves the same as selecting it in the Workspace.
Mesh Modifiers
The screen model can be edited to change its shape. In the Project tab each screen in the Workspace also lists the different Mesh Modifiers that can be applied to the screen. Their properties can be modified in the Inspector after expanding the Mesh Modifiers dropdown and selecting one of the available modifiers.
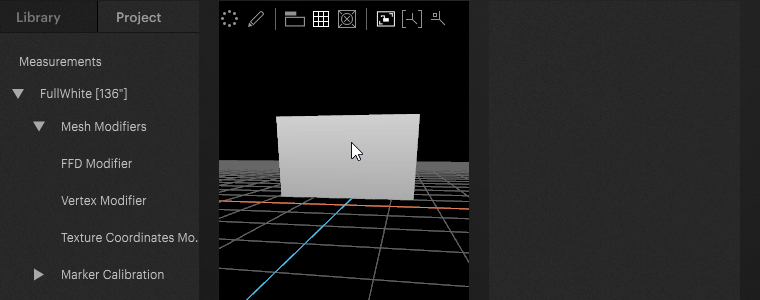
See Edit Mesh for details on how to apply the modifiers.