Contact Us


Timeline Preview - Preview Files
Pixera provides a preview of the programmed Timeline in the Compositing Tab.
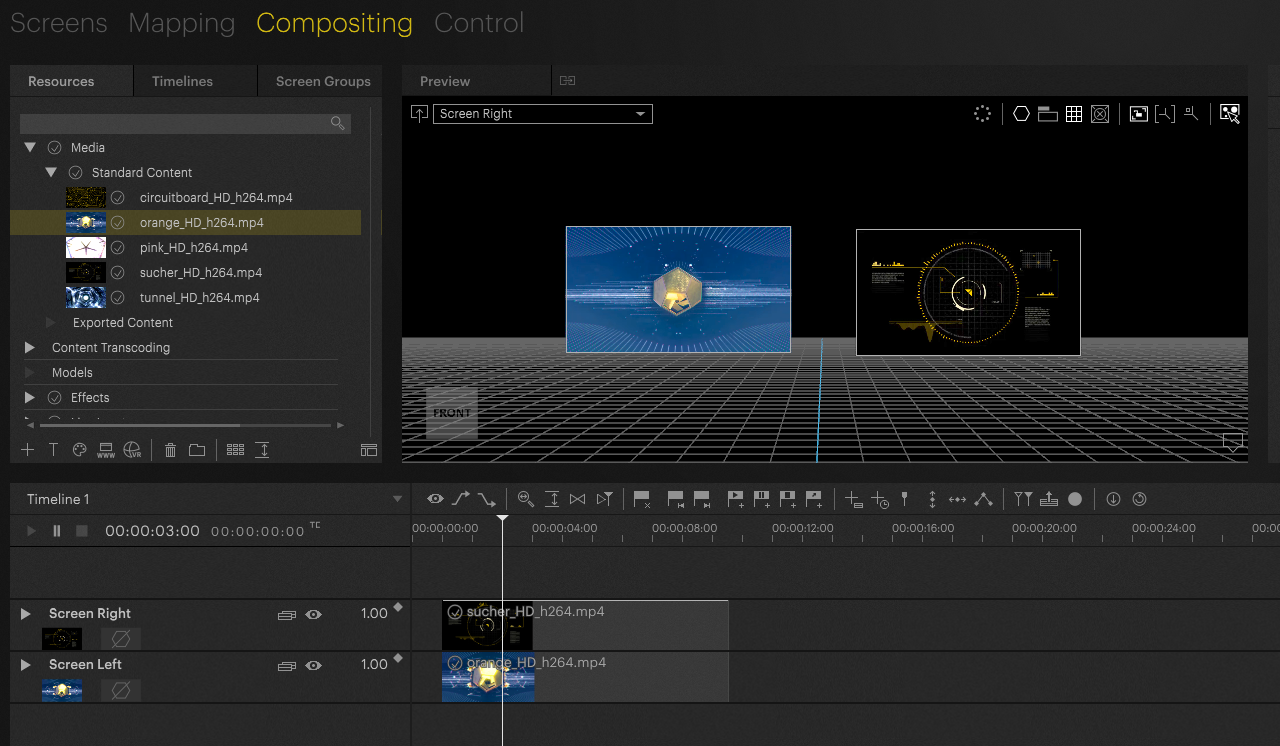
Here you can virtually preview the show, even without assigned clients or outputs.
For this preview Pixera uses its own Render Engine instance, which runs with e.g. reduced refresh rate as the Render Engine responsible for outputting.
Preview File Location
Pixera uses so-called preview files, which are created from the original files and are stored in a specific folder.
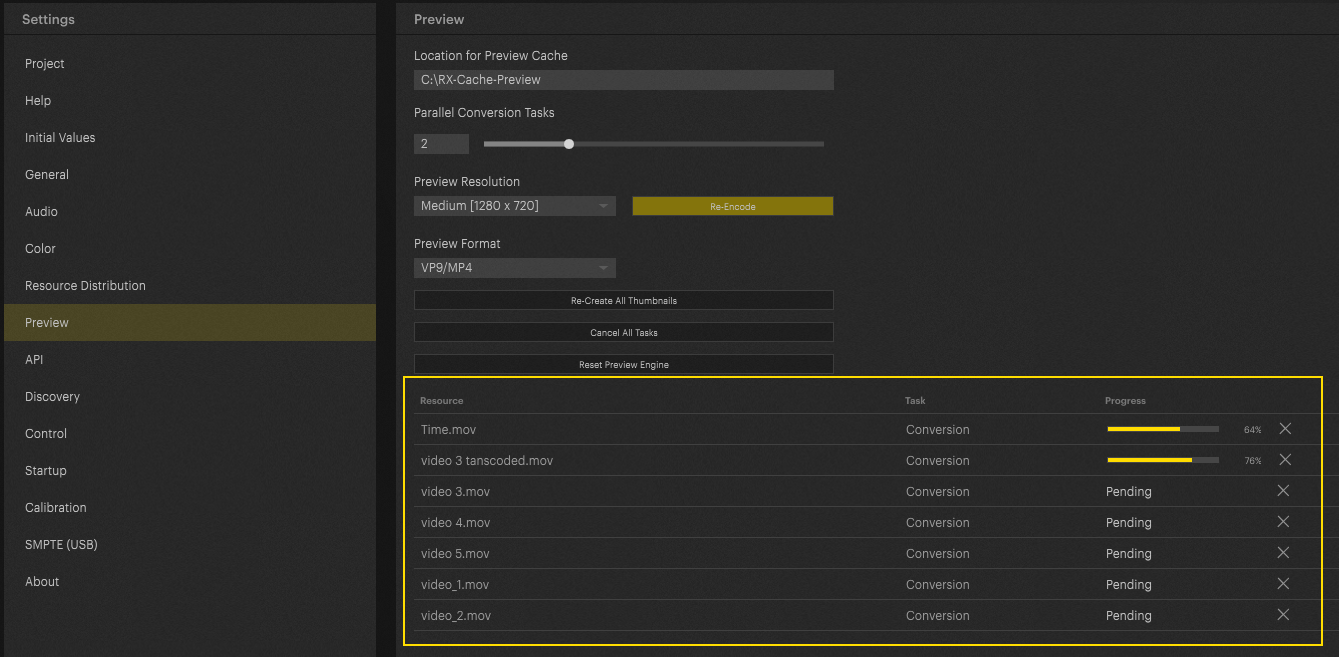
The folder where these files are stored can be found by default on the C-Drive and is called "RX-Cache-Preview"

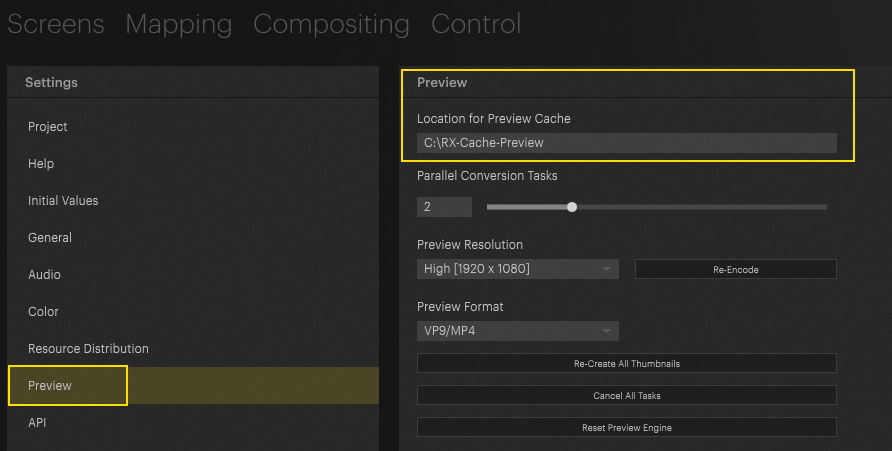
The location for Preview Cache can be changed in the settings of Pixera as displayed in the image above.
Preview File Default/Global Settings
The preview files are by default much smaller as the orignal files to save performance.
Depending on the settings for the preview files, Pixera creates a preview video according to the selected codec and resolution.
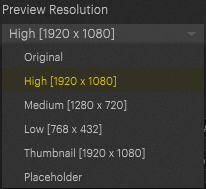 The Preview Resolution can be changed to either the original file, to High, Medium, Low and also to just a Thumbnail or an empty placeholder |
 VP9 is the default Preview format. Depending on the hardware used, it makes sense to switch to Hap to get a better preview performance. To display the Alpha channel of a file in the preview, it is necessary to change the format to ProRes. |
If the original content does not correspond to a 16:9 aspect ration, the selected preview resolution is used for the long side of the content.
Preview Conversion Tasks
As soon as new content is imported to Pixera, the conversion to preview files start automatically. In the Preview Settings the amount of parallel running Tasks can be changed with the slider.
The default is two convertion tasks at a time.

The running and pending conversion tasks are displayed in the list below the settings. By clicking on the X on the right hand side a specific conversion or via the button on top "Cancel All Tasks" all conversions can be canceled.
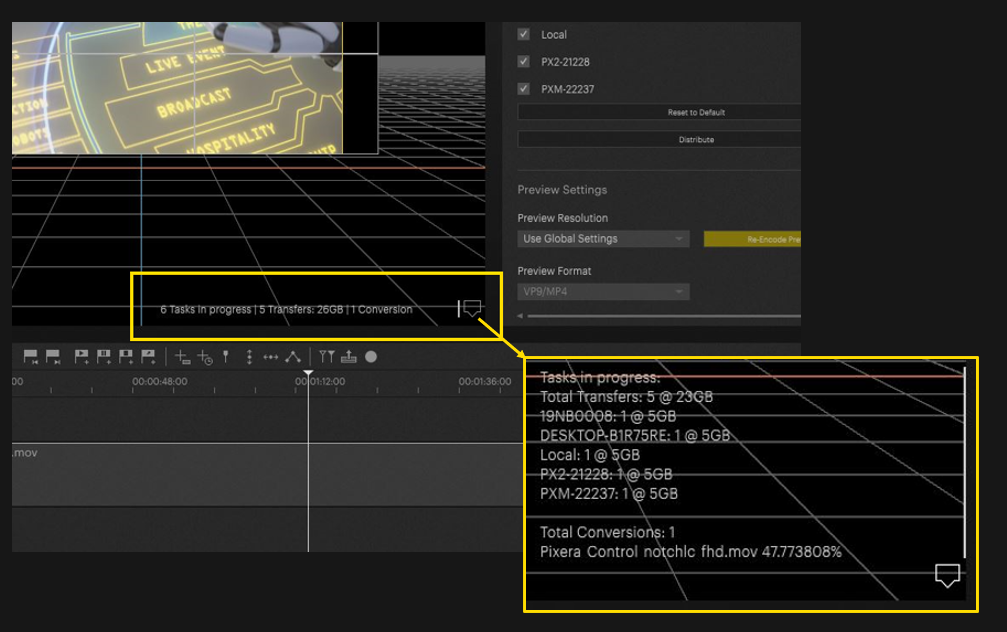
The running conversion tasks can also be displayed in the workspace of the Compositing. By clicking on the notification icon in the right bottom corner of the workspace all current tasks will be displayed. Those tasks list contains the running distribution tasks as well as the conversion tasks for preview.
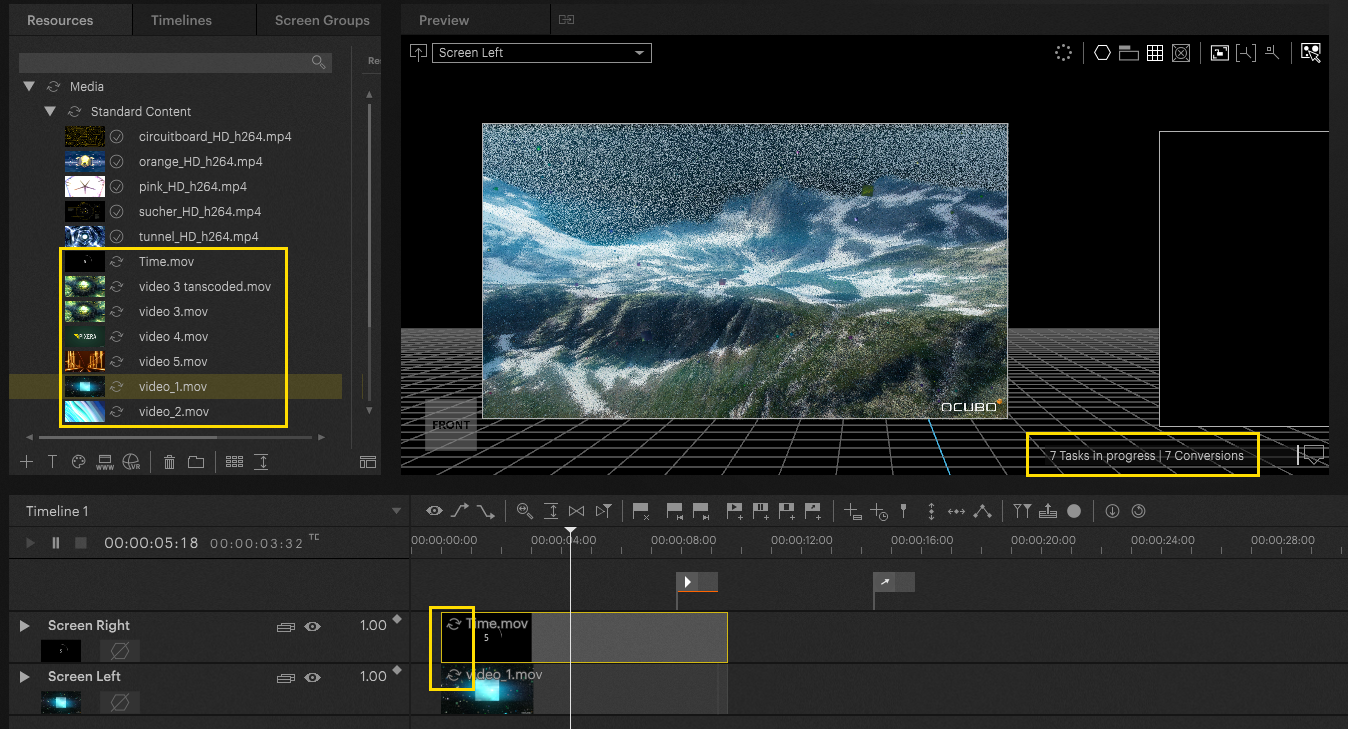
Pixera also displayes running conversion tasks as small icons in the resources as well as on the timeline via the small icon highlighted in the image below.
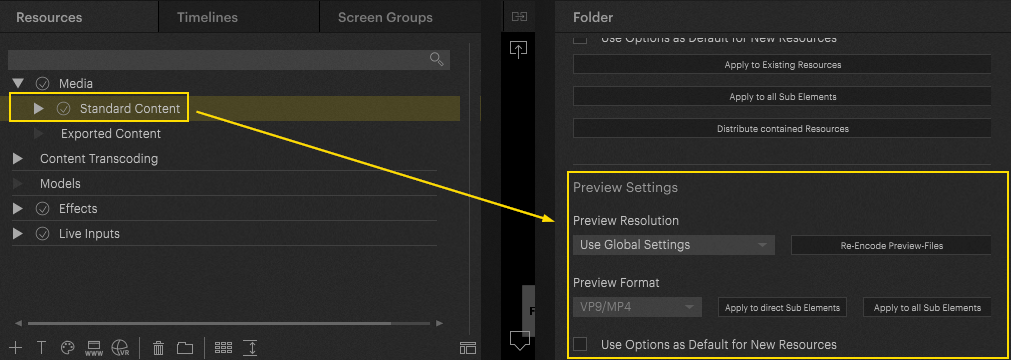
Preview Settings - File / Folder Level
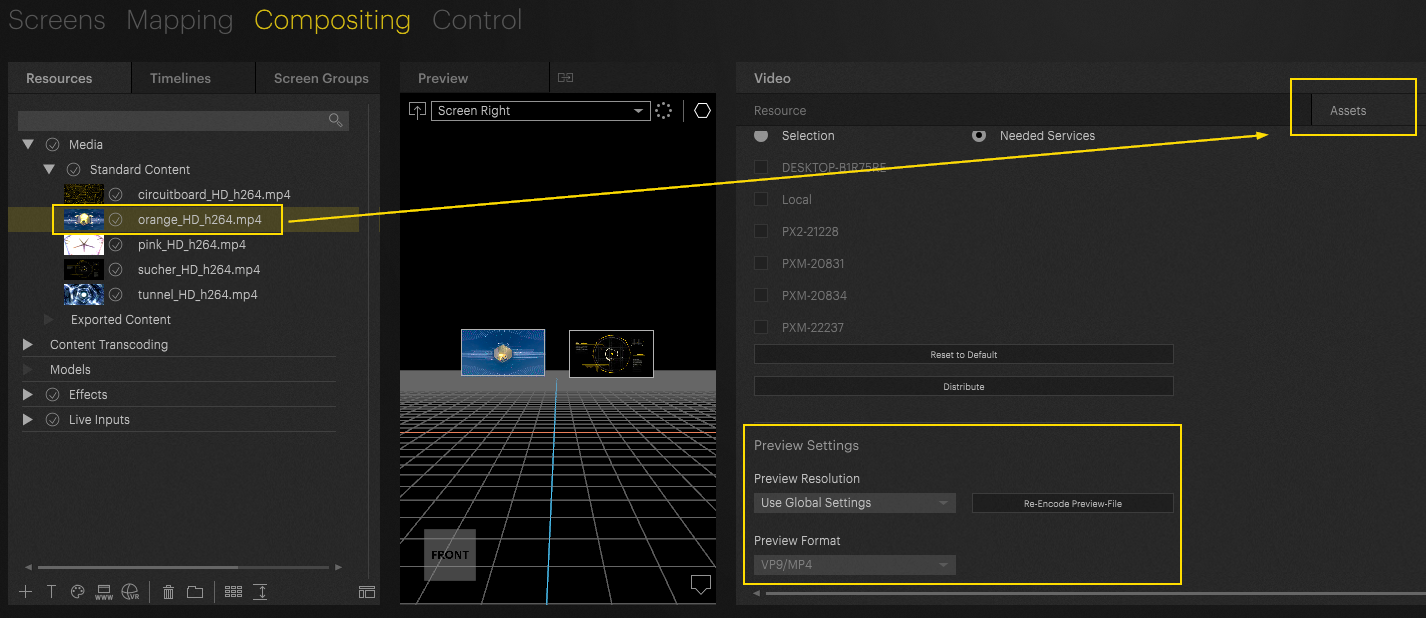
Beside the global preview settings it is also possible to change the resolution and format of a specific resource as well.
By selecting the file in "Resources" the "Preview Settings" can be than changed in "Assets" in the Resource Inspector on the right hand side.
It is also possible to change the Preview settings on folder level by selecting the specific folder in Resources and change the settings in the Folder Inspector on the right hand side.