 Contact Us


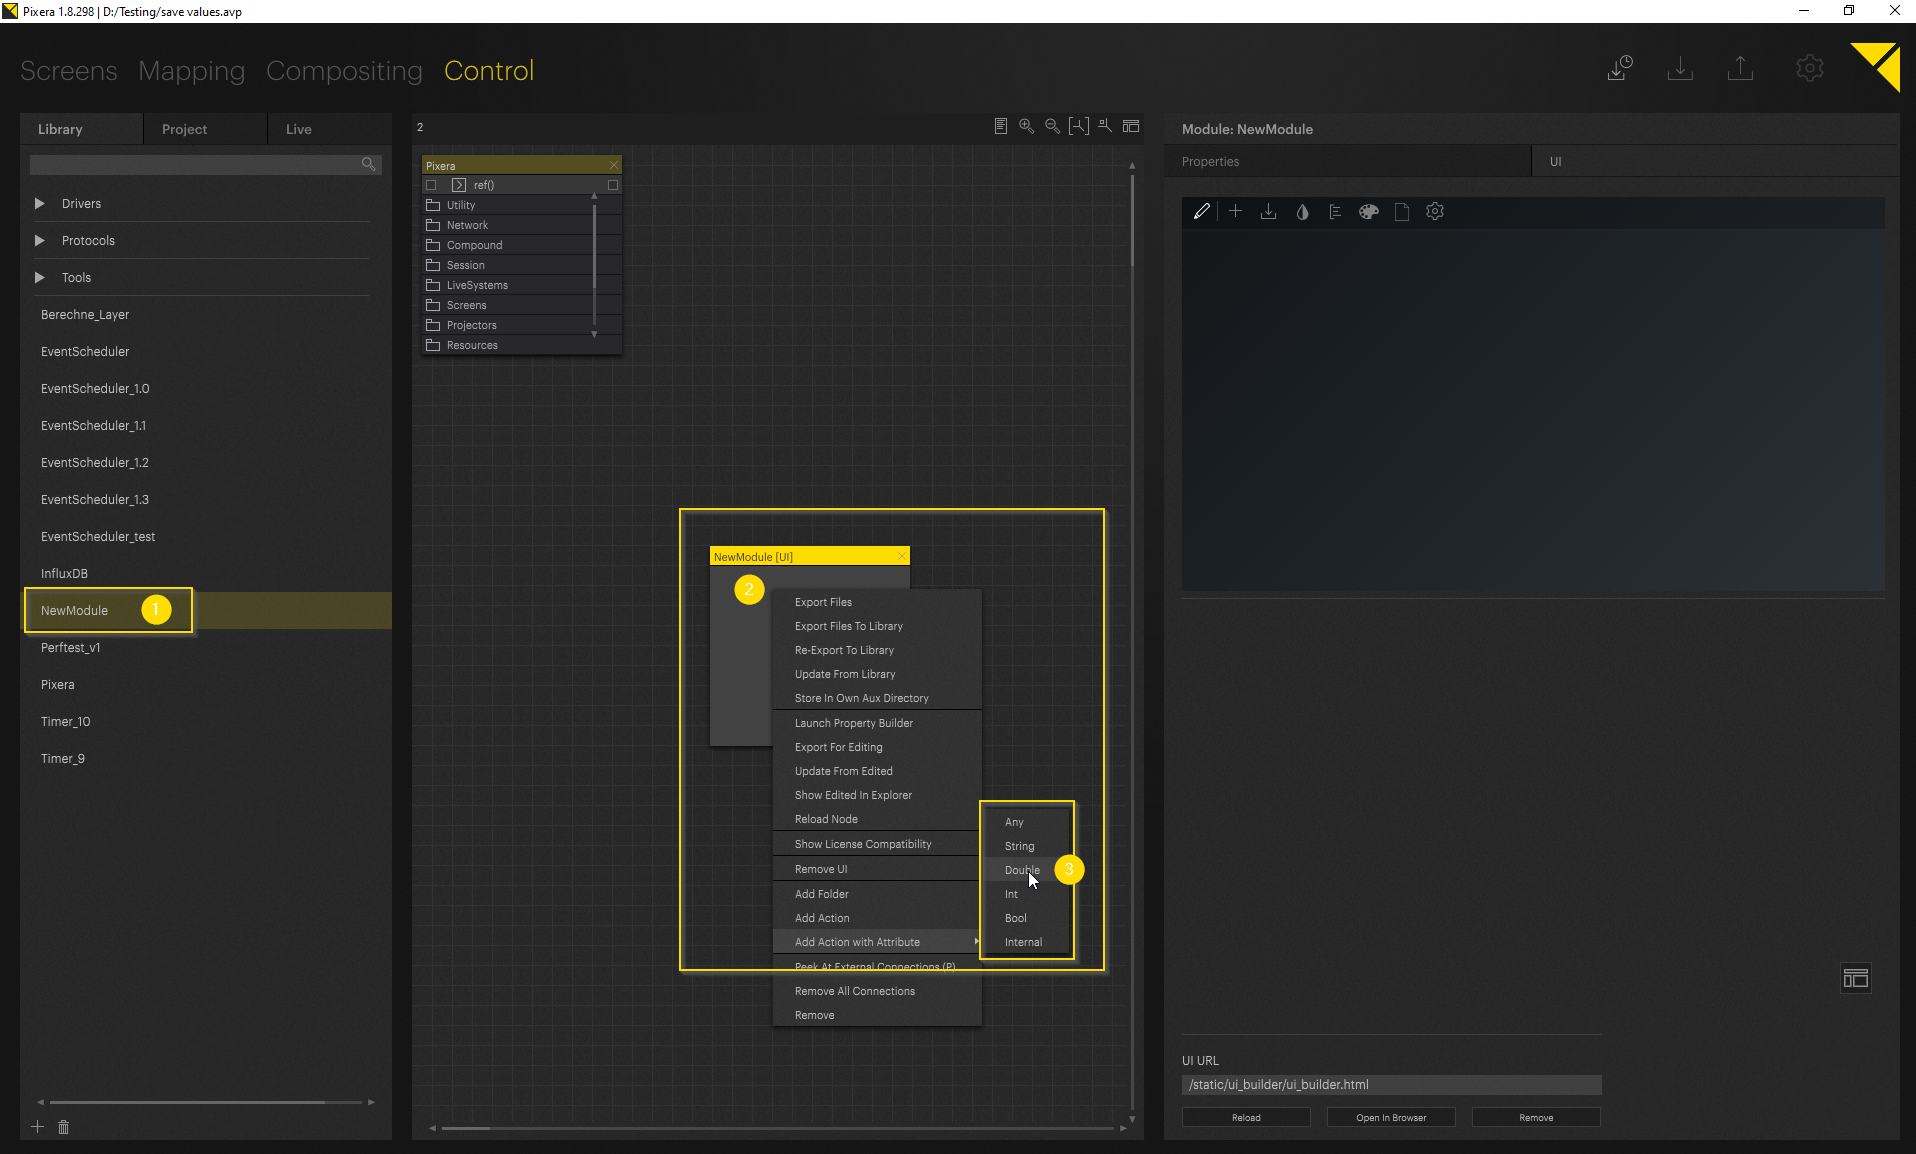
Import a new module and Add an Action with Attribute, in this case a double, but you may need something different in your use case.
To save the values, a control action with attribute must be created. This way these values are also saved with the saving of Pixera.
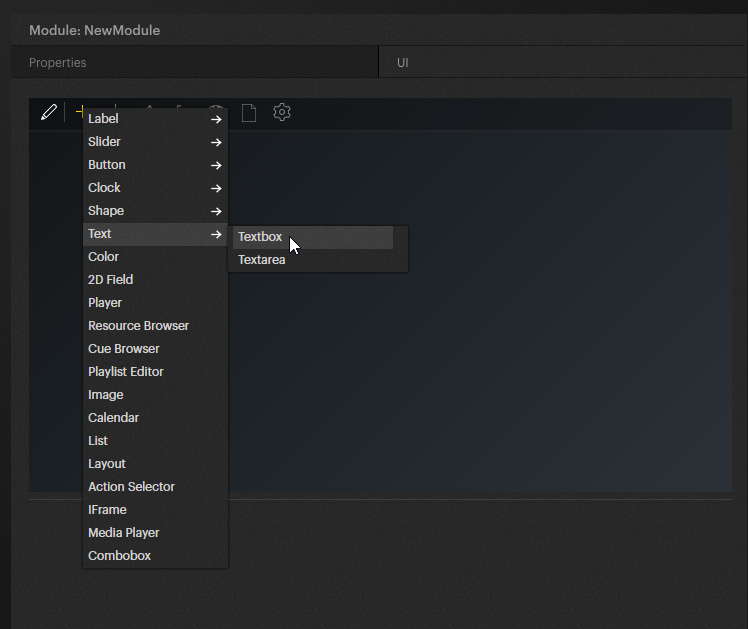
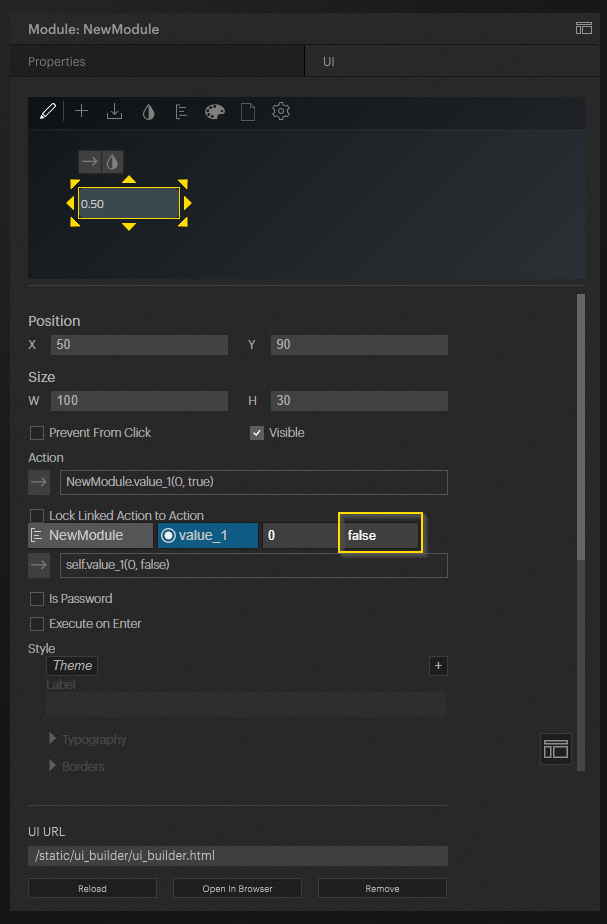
In this case, we use a textbox to show the example:
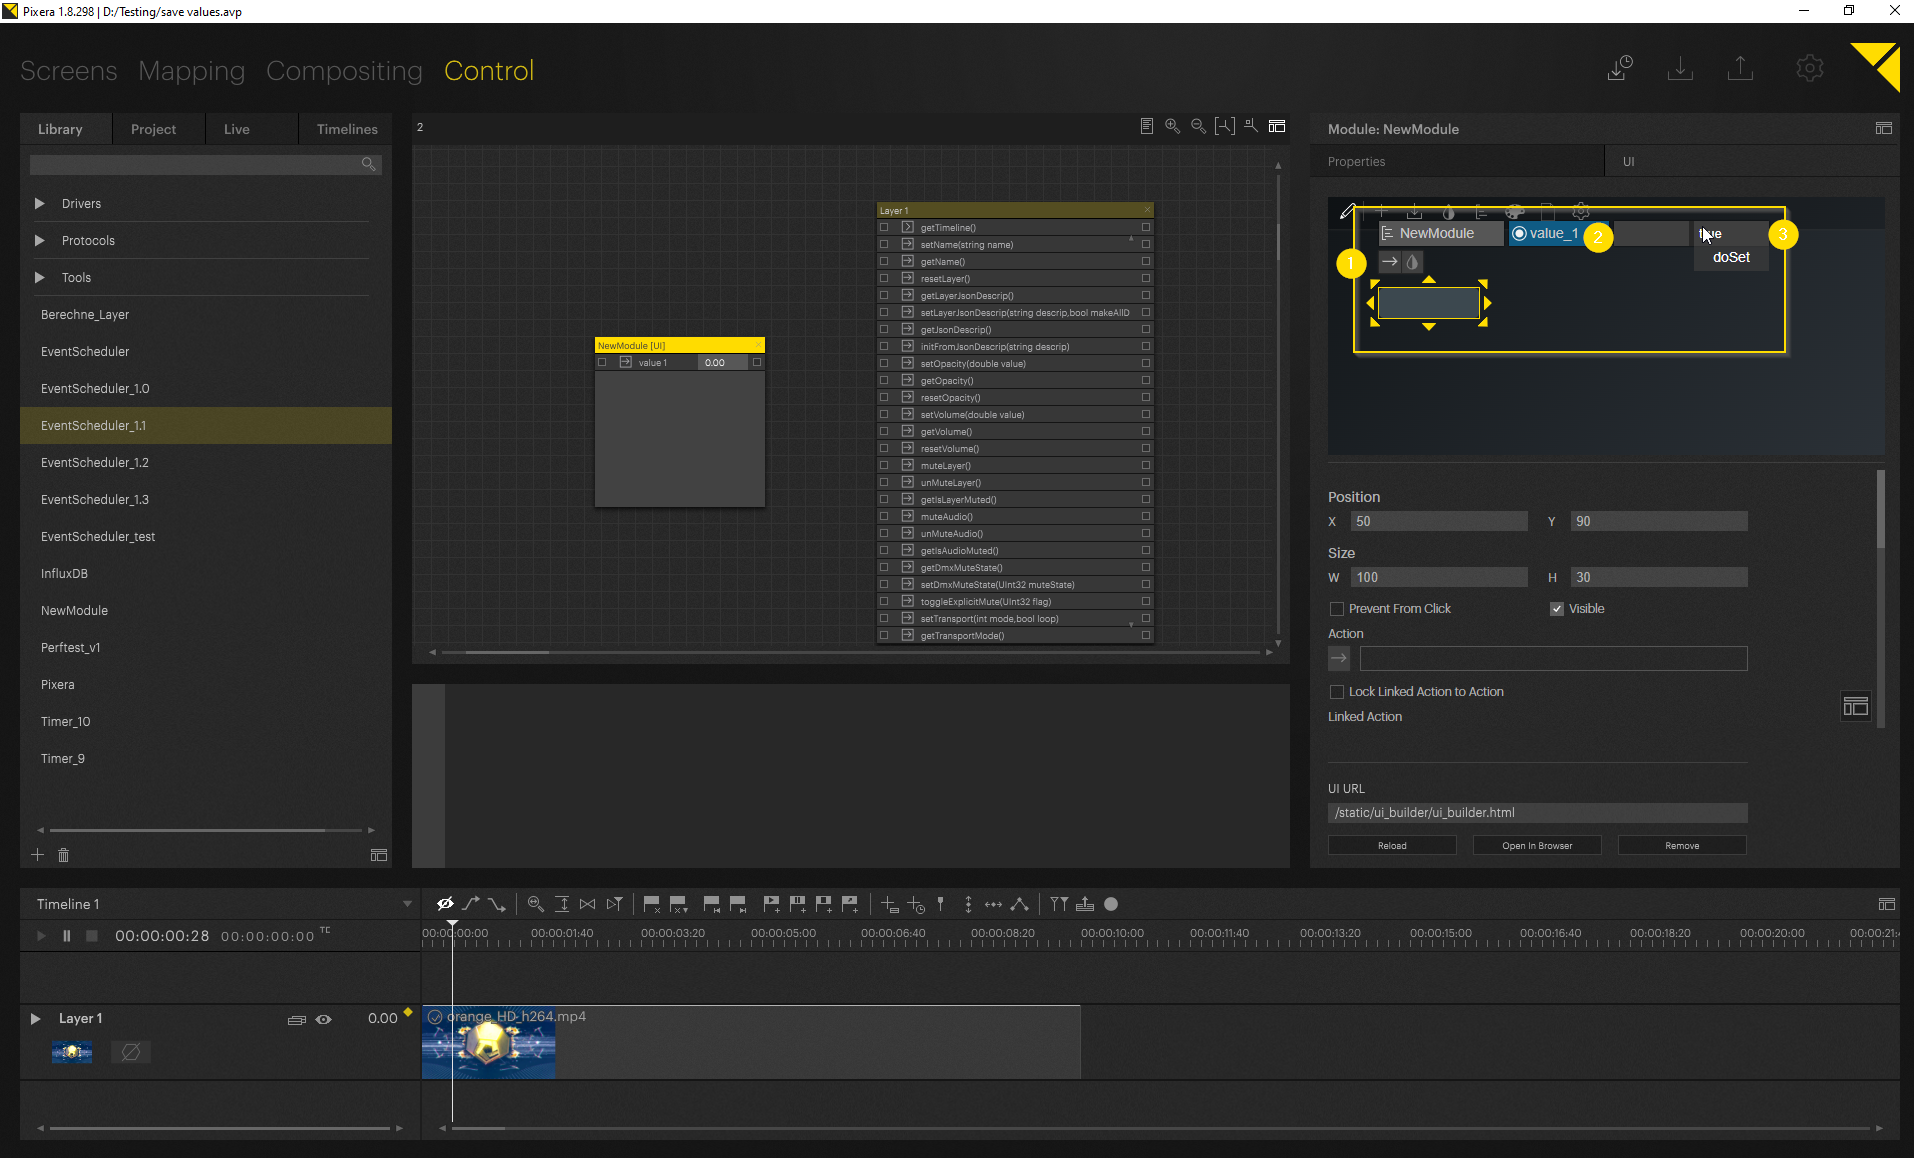
Now we are connecting the textbox to our action.
Important in this step is to write "true" in the field doSet. Because of this the action will save the value which you send to it.
You can see that the action and linked action will be set after this. The Linked Action is responsible for getting back the value into the Textbox, the linked action will for example be called if you change pages in the UI.
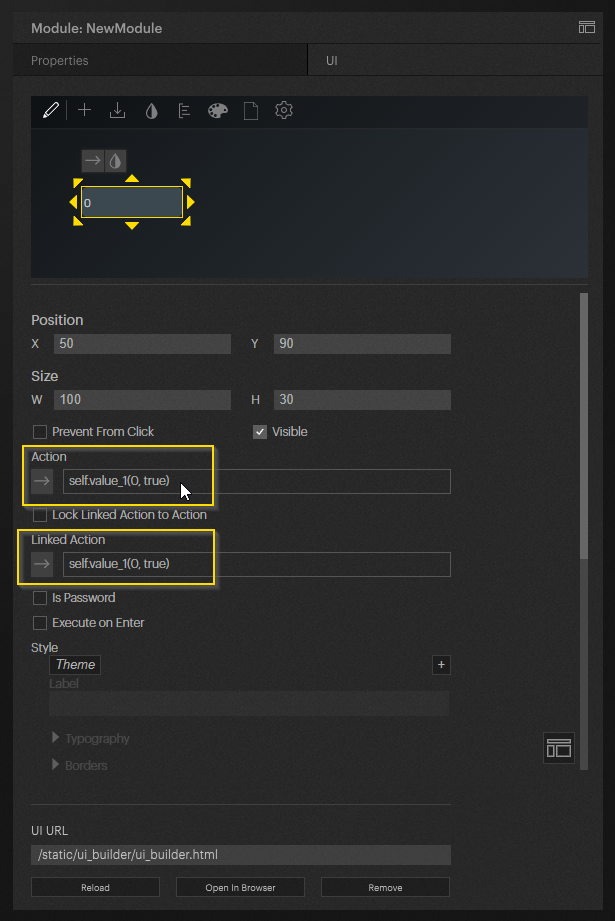
To prevent an error we set the second argument in the linked action to false. so that we do not save the value again when we call the page again. It also prevents us from overwriting the input again and again while we are typing in the field.
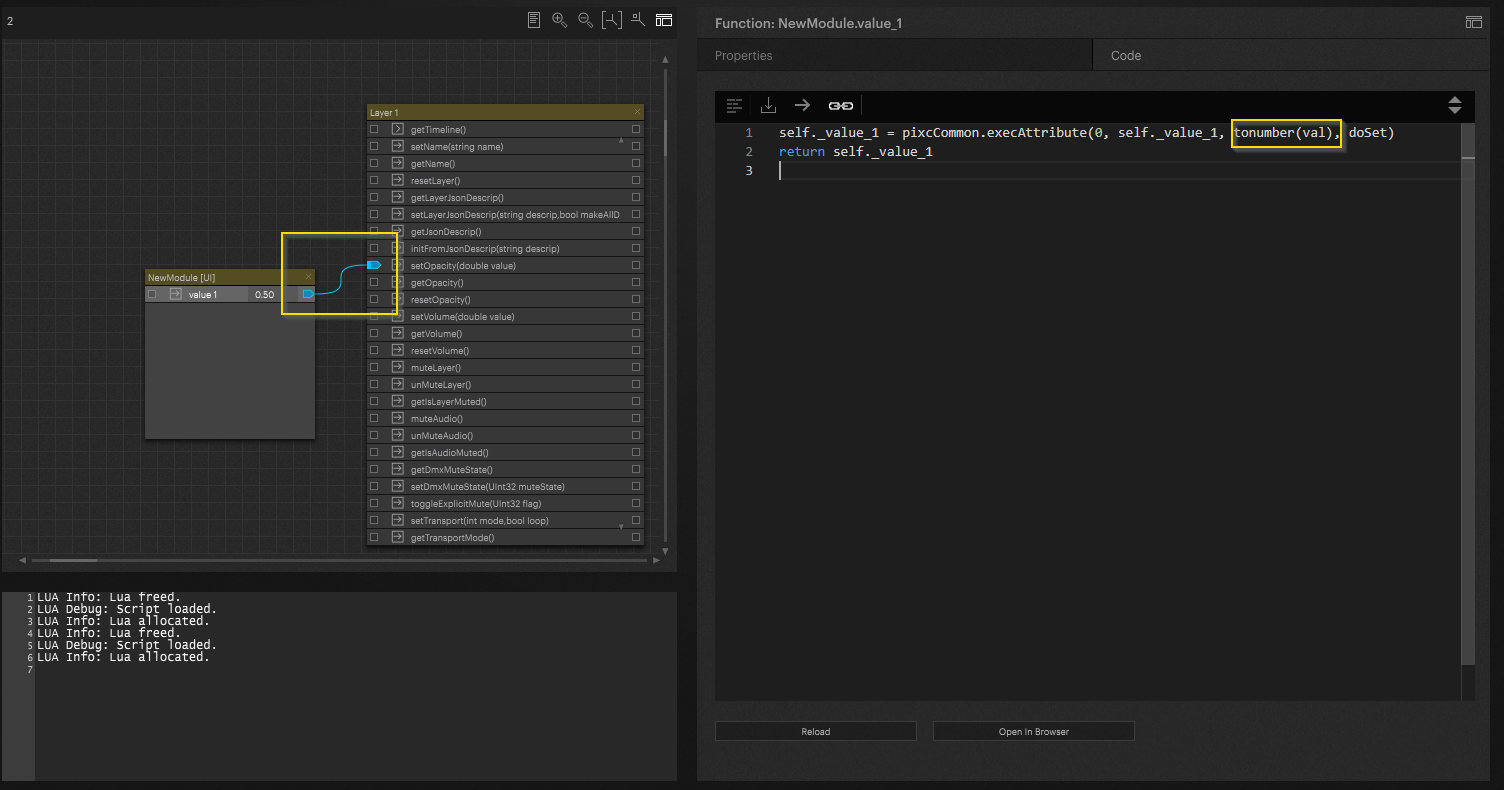
In our case here I use the text field as input for the opacity for a layer on the timeline. Here there is still the problem that I make a text input and the setOpacity(double value) needs a double value. If I only save text here it makes no difference. It depends on what the ui element outputs. With a fader a numeric value is output anyway that works right away.
So we have to do a conversion here. tonumber() is converting it to a useable Value
If I now make an entry in this textbox, we can see how the value of my layer changes in the timeline.

These values are also saved when we save the Pixera project. When we open Pixera again, these values are still the same.
See the UiSliderExample Module for reference.

Pixera 1.8.298 | 27.07.2023