 Contact Us


Setting Keyframes
Keyframes can be either set on the Timeline or directly on a screen in the Workspace.
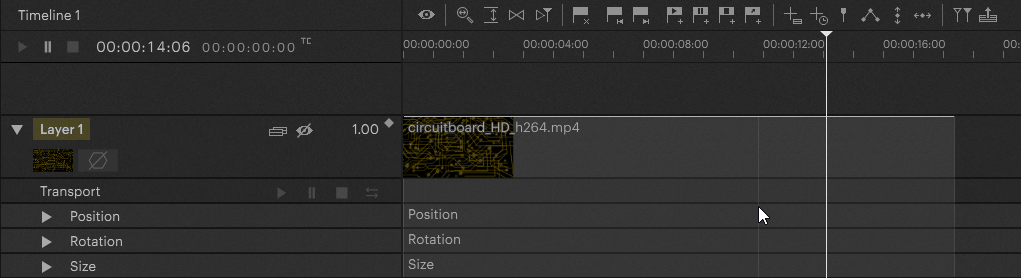
Setting Keyframes on the Timeline
Keyframes can be set on the Timeline by expanding the corresponding Layer's properties and:
- double-clicking on an empty area in the property's corresponding row on the Timeline to set a new Keyframe at the mouse cursor's position
or
- placing the Nowpointer at the desired position on the Timeline, changing the property's value in the value field of the Layer Section and saving it as a new Keyframe by clicking the highlighted Keyframe symbol (
 ) next to the corresponding value field.

Opacity Keyframes
The number shown on the right side of a Layer in the Layer Section determines its current opacity value.
Opacity Keyframes are set on the Clip's representation in the Timeline directly. The Layer only needs to be expanded to access the rest of its properties.

Setting Keyframes in the Workspace
Keyframes can also be set by positioning, resizing or rotating a Clip directly on a screen in the Workspace and clicking the yellow highlighted Keyframe symbol ( ) appearing on the top right of the Clip after changing the Clip's position, size or rotation.
