 Contact Us


PIXERA's Audio Engine offers many features for the playback of audio files. In addition to "dynamic resampling", the audio engine also supports "micro-pitching" to ensure synchronicity between video and audio.
Supported audio file formats
Currently PIXERA supports the following audio file formats:
- MP3
- FLAC
- WAV
- M4A
- AAC
- WMA
- AC3
Adding audio files
Audio files can be imported to the Resouces Tab in PIXERA exactly the same way as video files. Either via dragging and dropping them from the file explorer or by hitting the plus icon. For further information on how to add media files to PIXERA please have a look at Media Management
By dragging and dropping audio files from the Resources Tab to the Timeline, audio can be placed on Layers. This automatically triggers the preview file creation so the waveform can be displayed inside the clip contrainer.
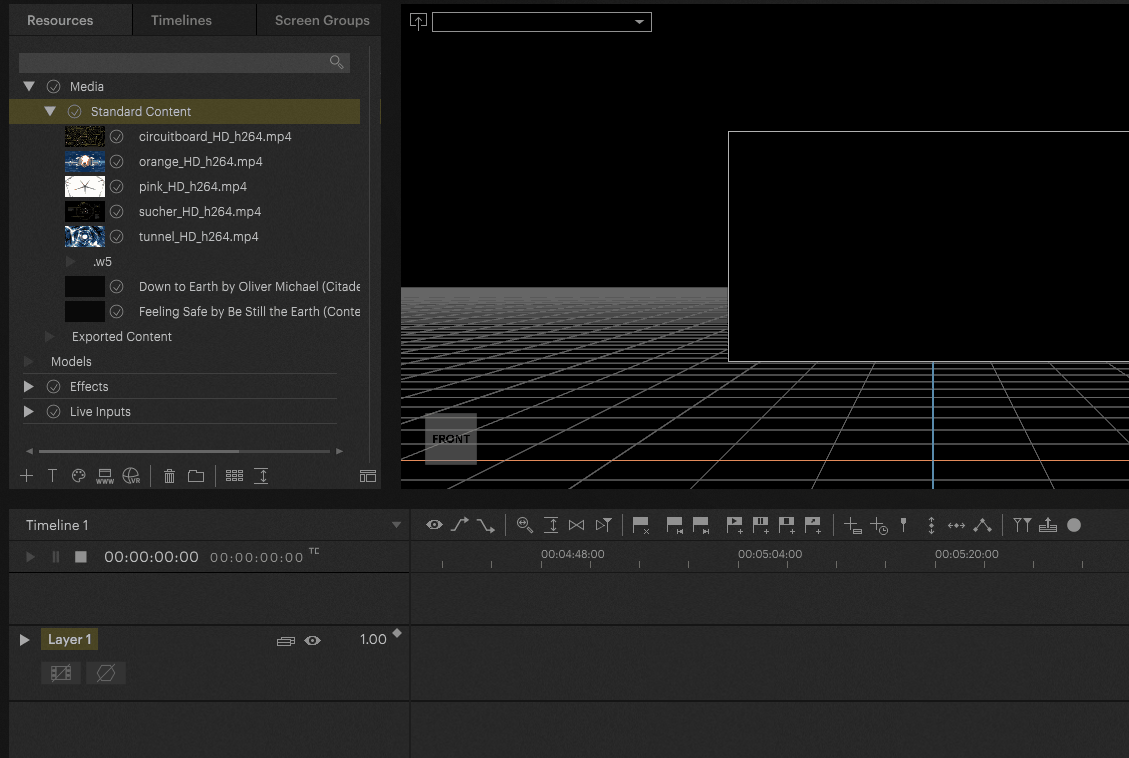
By selecting the Clip on the Timeline, the Inspector on the right hand side shows information about the audio file in the Audio Settings section. In here the original duration, sample rate, bit rate and the number of audio channels are listed. You can also rename the file, and access File Versioning from here.

Embedded Audio
Video files can also contain audio channels. In general PIXERA supports these types of media files and is able to playback video and audio of such files. To find out if a video file contains audio as well, just select it in the resources tab - the Inspector then shows the available audio channels on the right.

Video files with embedded audio can be used on the timeline like any other media file. Audio is simply displayed as a separated Volume track within the Container where you can add keyframes.

If you want to be able to use an embedded audio track independently of the video track, there is the "Extract Audio" function. This separates the audio track from the video and adds it to the resources tab as a separate file.

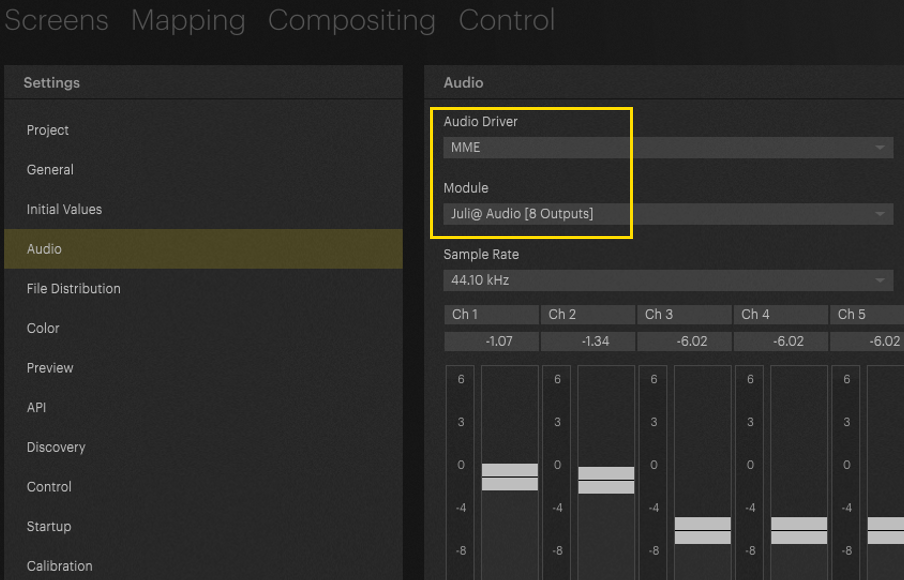
Audio Interface | Sound Card assignment
You can set which audio device you'd like PIXERA to use to play back audio in Settings > Audio. Here you can select the Audio Driver, Audio Device (Module), Sample rate and output levels.
The supported drivers are:
- ASIO
- WDM
- WASAPI
- MME (for Dolby Digital)
NOTE
Depending on the connected devices, their availability and support, different modules and sample rates are displayed in the drop-down menus.

The number of channels and level meters displayed depends on the Audio Device you have selected and the number of available outputs it has. Level can be set independently on each channel. When the audio file is played, a level meter shows the activity on each channel and whether the audio is clipping.
NOTE
Only one audio device can be used at a time in PIXERA, even if several are connected to the same server.
Dolby Digital audio playback
In addition to the mentioned audio file formats, PIXERA supports Dolby Digital and Dolby Atmos audio as well. Selecting such a file in the resources tab, you will be able to see the channel count in the inspector - for example, video file with 5.1 audio will show as having 6 audio channels.
To be able to play back Dolby Digital files, the option "Use Digital Audio Output" must be selected in the file's Inspector in the resources tab. Digital Audio Output works via DisplayPort out or via S/PDIF.

In addition, the driver "MME" and the correct Module must be selected in the Audio Settings of PIXERA.
Afterwards the file can be dragged onto the layer for playback in the usual way.
NOTE
It is not possible to mix Dolby Digital and normal audio files in one project
Defining Audio Channels
Audio output is defined on a per-layer basis and by setting the Audio Channel field in the Inspector. You can set the initial output channel here.
Example:
Entering ‘3’ in the Audio Channel field for a layer, and placing a clip with two channels of audio on that layer, will play audio on output 3 and output 4.
Only Available in 25.3 and On
If you need to make specific audio channel assignments, you can do so here by typing your desired audio channel order separated by commas. This could be useful for swapping the left and right channels of a stereo audio file. For this, you would type ‘2,1’ in the Audio Channel field.
Example:
If you had a 5.1 surround sound audio file and ‘1’ set in the Audio Channel field, it would output on channels 1 to 6 in this order: Left, Right, Centre, LFE, Left surround Right surround. This is the 'SMPTE' surround channel order, but maybe your playback system uses ‘Film’ channel order. In the Audio Channel Field, you would enter 1, 3, 2, 5, 6, 4 to achieve the correct output order of Left, Centre, Right, Left surround, Right surround, LFE.
The setting for Audio Channel can be found by selecting a Layer and navigating to the Setup tab in the Inspector. From here, you can select the Server you want to output this layer's audio from and enter the Audio Channel configuration.
If you want to disable audio output for a layer ‘0’ or ‘None’ can be entered into this field. If you specify fewer audio channels than are contained in the file, the unspecified channels will be auto-assigned following the last channel that was assigned manually.

These settings can be defined in the Initial Values area of PIXERA settings, in the Timelines dropdown:


Limitations
At present, duplicating audio channels is not supported. As a result, it is not possible to route a single input channel (e.g., Video Audio Channel 1) simultaneously to multiple output channels (e.g., Output Channels 1, 2, 3, and 4).
PIXERA 25.3 INTER 73 | 08 January 2026 | C.L, B.C, and F.E.