 Contact Us


In this article we will go over how to install and use UltraVNC with PIXERA Hub.
UltraVNC Installation
In PIXERA Hub, you have the option of connecting to other PIXERA machines on your network via UltraVNC. Unless you are on PIXERA Hardware, which comes with UltraVNC pre-installed, you will need to manually install UltraVNC yourself in order for this feature to work.
Install the latest version of UltraVNC here, ensuring your are installing a full version which includes UltraVNC Repeater, Server, and Viewer. At the time of this article publishing, under “Filters,” UltraVNC 1.6.4.0 is the latest. Click this link, which may bring you to a secondary page, scroll down and choose the version that works for your system. Click the orange “Download” icon to prompt the download process. This is a full version and will include all of the necessary installers.
This process should be repeated on all servers you wish to gain access to/from.


Select your preferences for how Ultra VNC should be installed, there are no PIXERA related recommendations.
PIXERA Setup
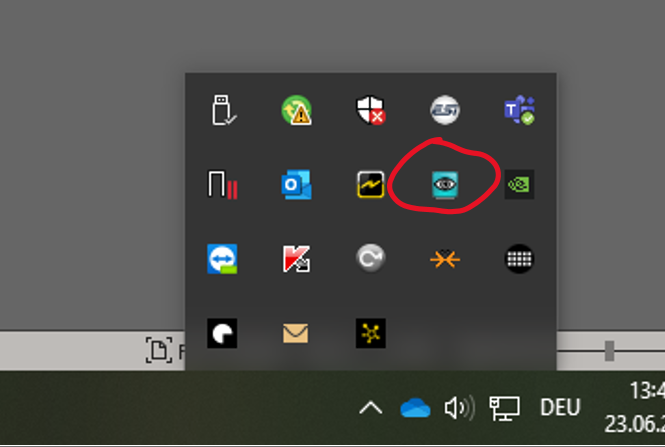
Right click to the Windows VNC application -> Open Administrator Options
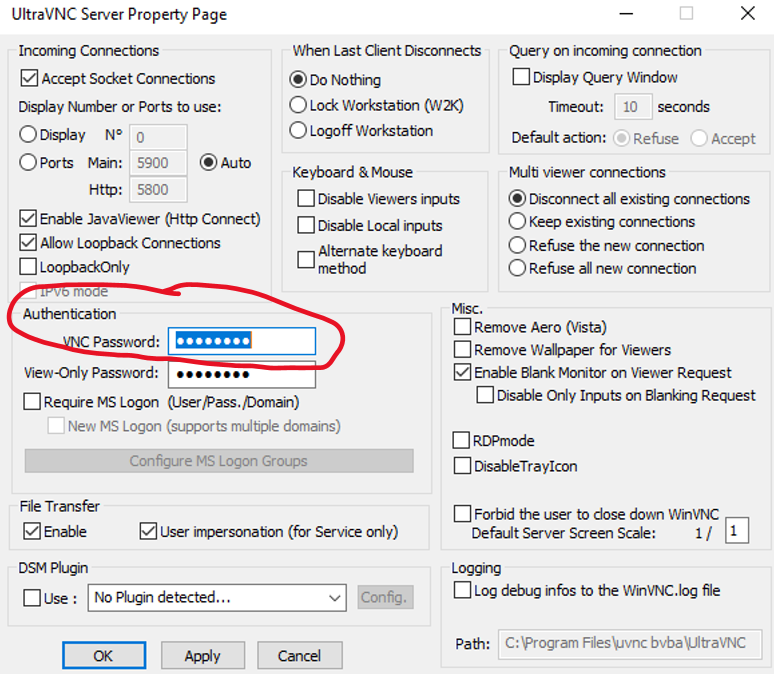
Insert: AVStumpfl, as your VNC Password:
Use with Hub
If you are using Ultra VNC together with the Hub, make sure to restart the Hub by right clicking on it and pressing "Restart":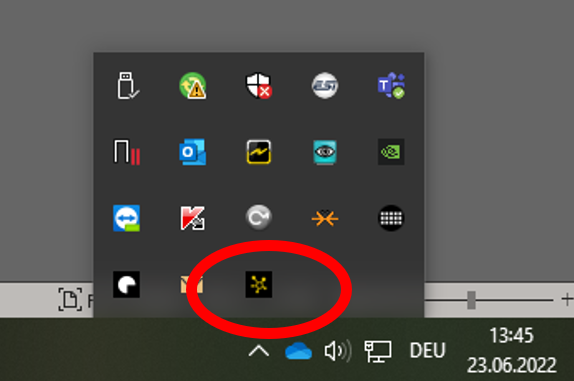
To access other machines on your network, find the list of machines on the left side of Hub, right-click and choose “VNC Connect.” This will automatically apply your credentials and connect you remotely to that machine, giving you full control of your remote server.

PIXERA hub 2.22.20 | 26 Sept 2025 | RJ