 Contact Us


Media Management
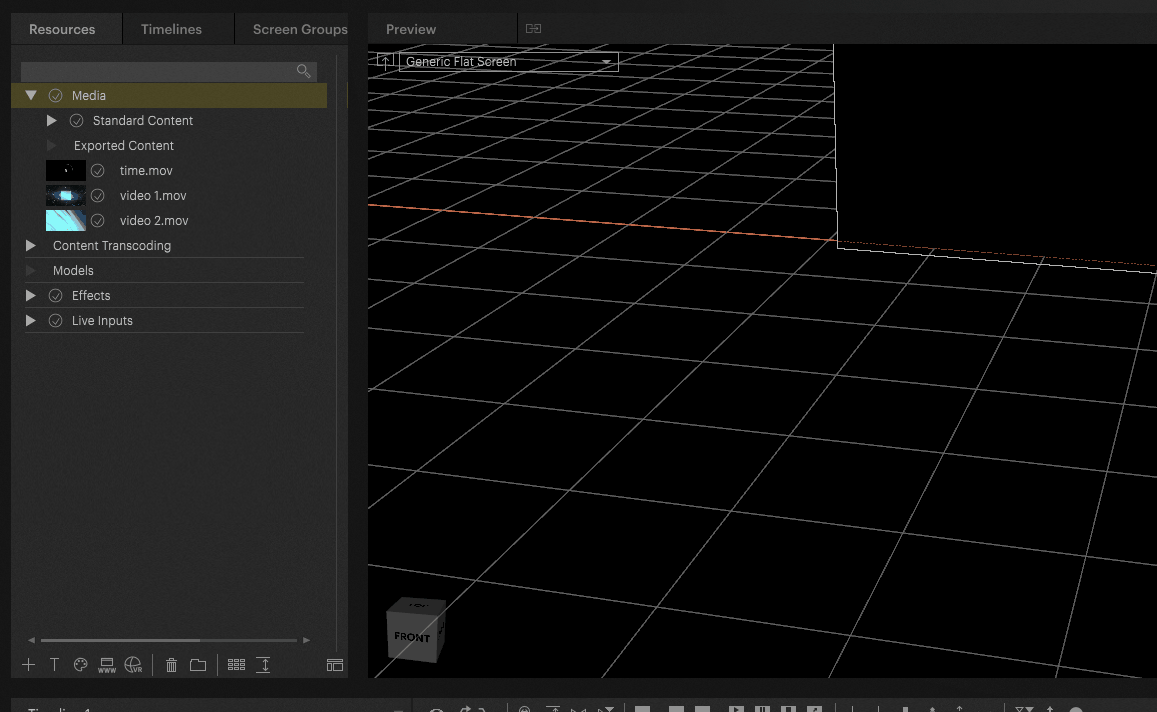
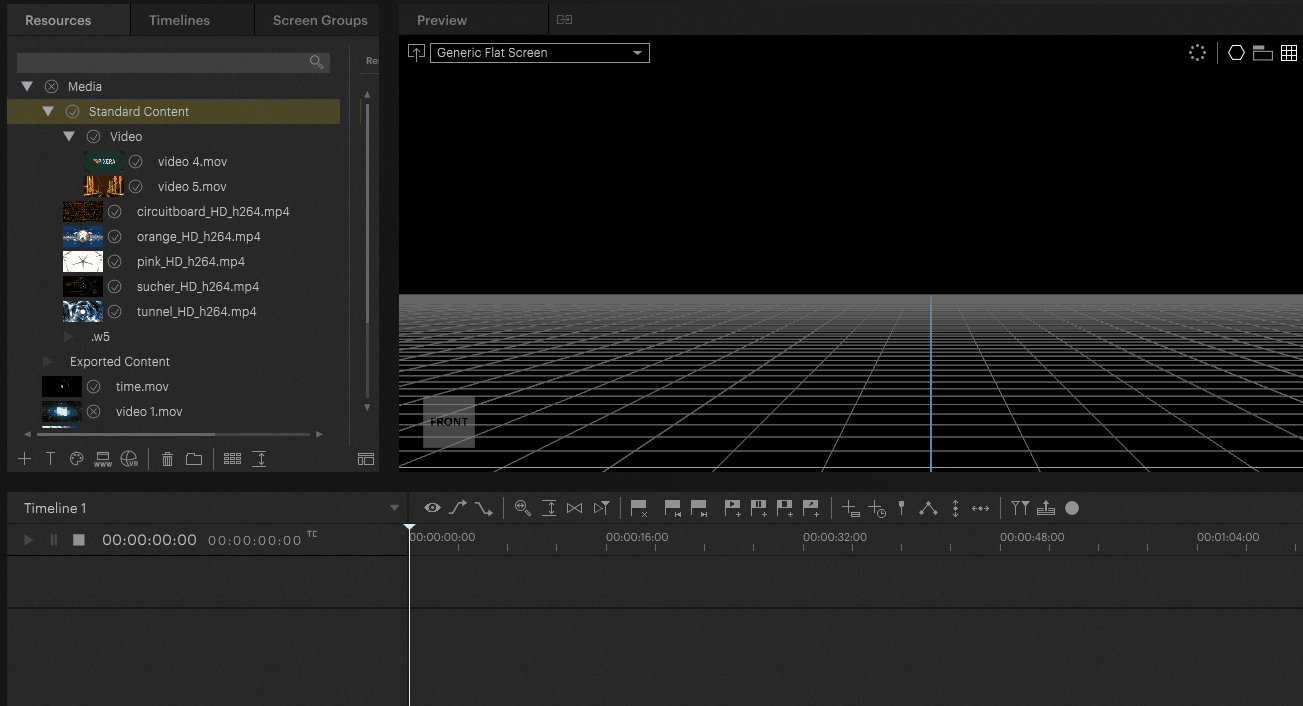
All audio and video files, images and texts can be organized, imported or deleted under the Media section of the Resources pane.
Importing Media
Media files can be imported from the hard drive by:
- dragging them onto the pane from the Windows Explorer
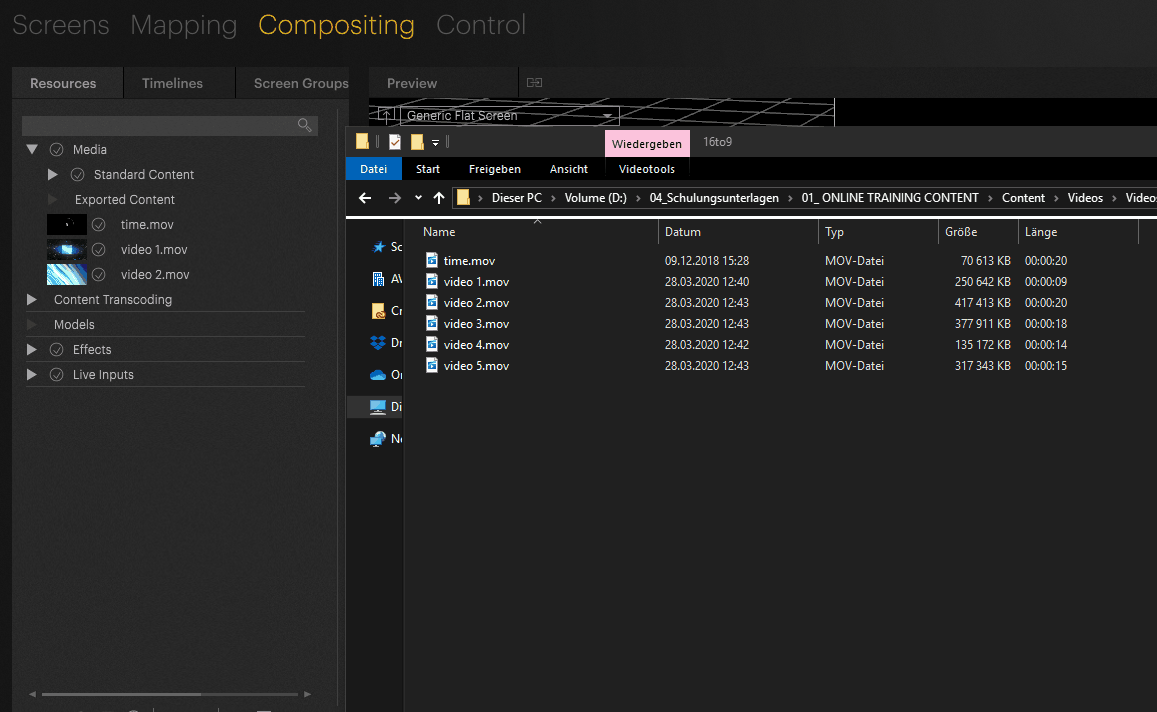
- or by clicking the '+' sign below and selecting them in the appearing file dialog
Importing Picture Sequences
If a folder contains several images with a consecutive number, Pixera recognizes them as a sequence and asks when opening one or all images whether they should be imported as single images or as an image sequence. In this dialog, you can also select the frame rate at which the image sequence is to be created.
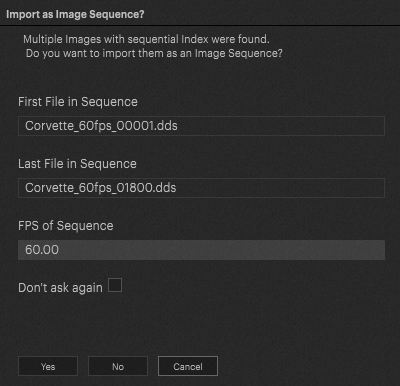
By clicking on "Yes", Pixera will create an image sequence, by clicking on "No", all images will be imported as single images.
If several image sequences are imported, the last import setting can be used for all further import settings by activating the "don't ask again" checkbox and the dialog will no longer appear during the next import.
Once a picture sequence is imported, it can be handled like a standard media - on the timeline it appears as single clip.
Supported media formats
Pixera supports a wide range of video codecs in different containers and image formats.
Image Formats: .jpg, .jpeg, .tga, .png, .tif (8 Bit or 16 Bit), .tiff, .dds, .dpx (8 Bit and 10 Bit), .bmp, .exr
Video Container Formats: .mp4, .mov, .avi, .wmv, .mpg, .mpeg, .m2v, .mkv
Video Codecs:
- HAP, HAP Alpha, HAP Q, HAP R (in .mov Container),
- Apple ProRes* (in .mov container)
- H.264* (in mp4 container)
- H.265* (8 Bit and 10 Bit) (in mp4 container)
- NotchLC
- VP9
Audio Codecs: .wav, .mp3, .flac, .m4a, .aac
* = these codecs are processor intensive
For a more detailed list of supported media formats please have a look at Supported File Formats - Codecs
How files are imported in Pixera
In Pixera, the media files are imported as a link to the original file path. This way the native files are used in Pixera and not copied to another folder.

Deleting Media
Media files can be deleted by
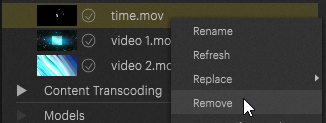
- Right-clicking the file in the list and selecting "Remove" from the context menu
Renaming Media
Media files can be renamed by
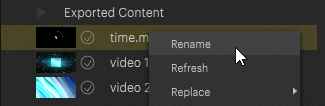
- Right-clicking the file in the list and selecting "Rename" from the context menu
Search and Replace Media
If files on the hard disk are renamed or moved that have already been imported into Pixera, they can no longer be found by the software the next time it is started because the file path has changed.
This is indicated in the media folder by the circular X-symbol.
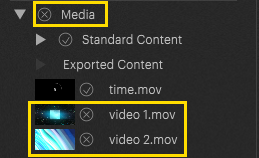
The missing media file can be searched for on the hard disk or replaced by another file.
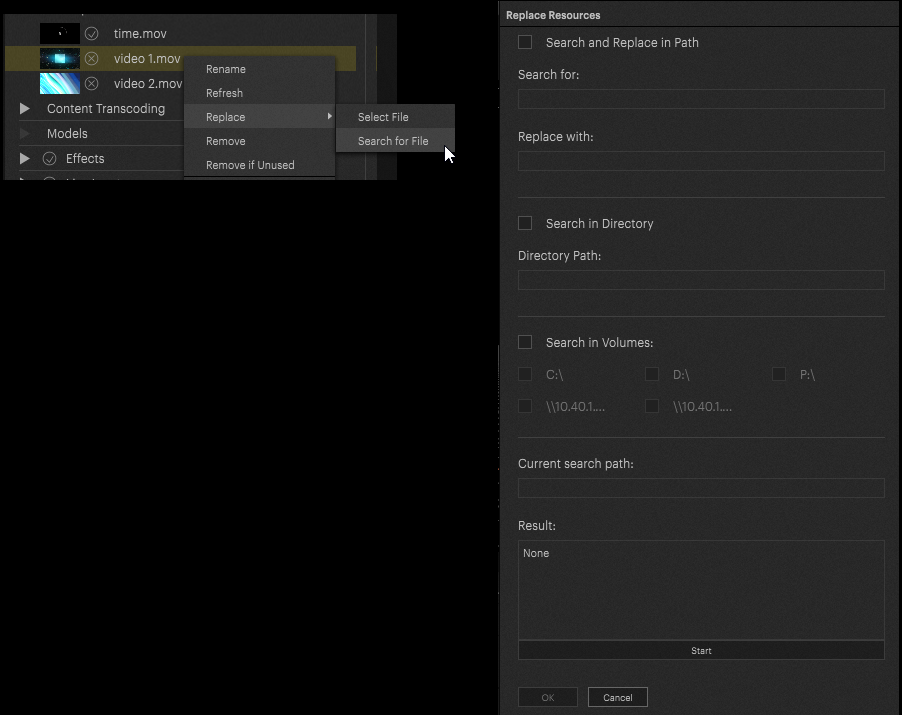
By right-clicking the file in the list and selecting "Replace" from the context menu it can be replaced by selecting a file or by searching a file.
Organize Media
For better overview, media files can be organized into subfolders.
By selecting a folder in the list in which a subfolder should be created and clicking on the folder symbol at the bottom of the window, a new folder will be created.
The new folder can be renamed either by double-clicking on it or via the inspector on the right side. Media files can now be moved into this new folder by dragging and dropping them.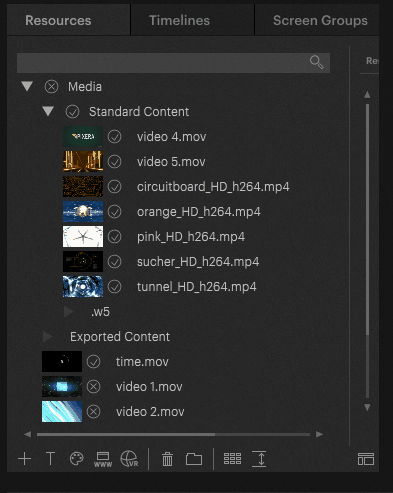
To find out more about how media files are going to be transfered in a Manager-Client setup please have a lot at File Transfer