Workflow

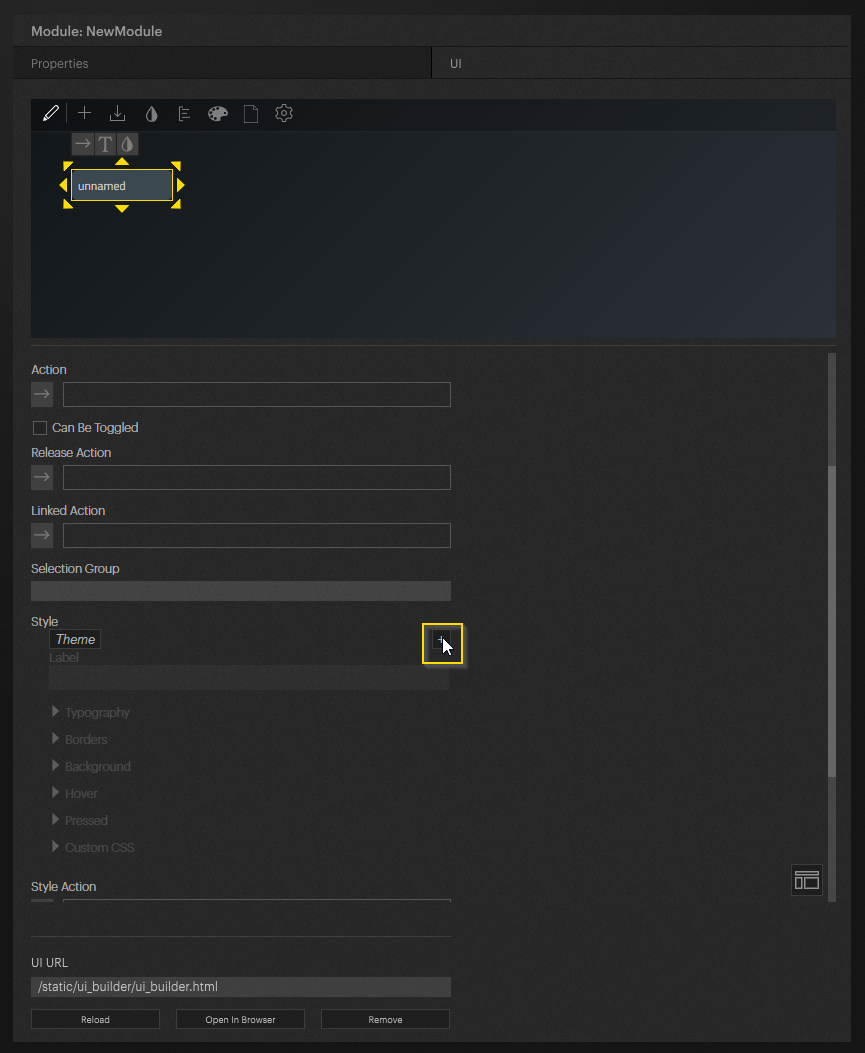
Now you will want to add multiple Styles to the Button using the “Style” section of the Inspector. Note, the name of these Styles will be what you will have to send from the Action to this Element.

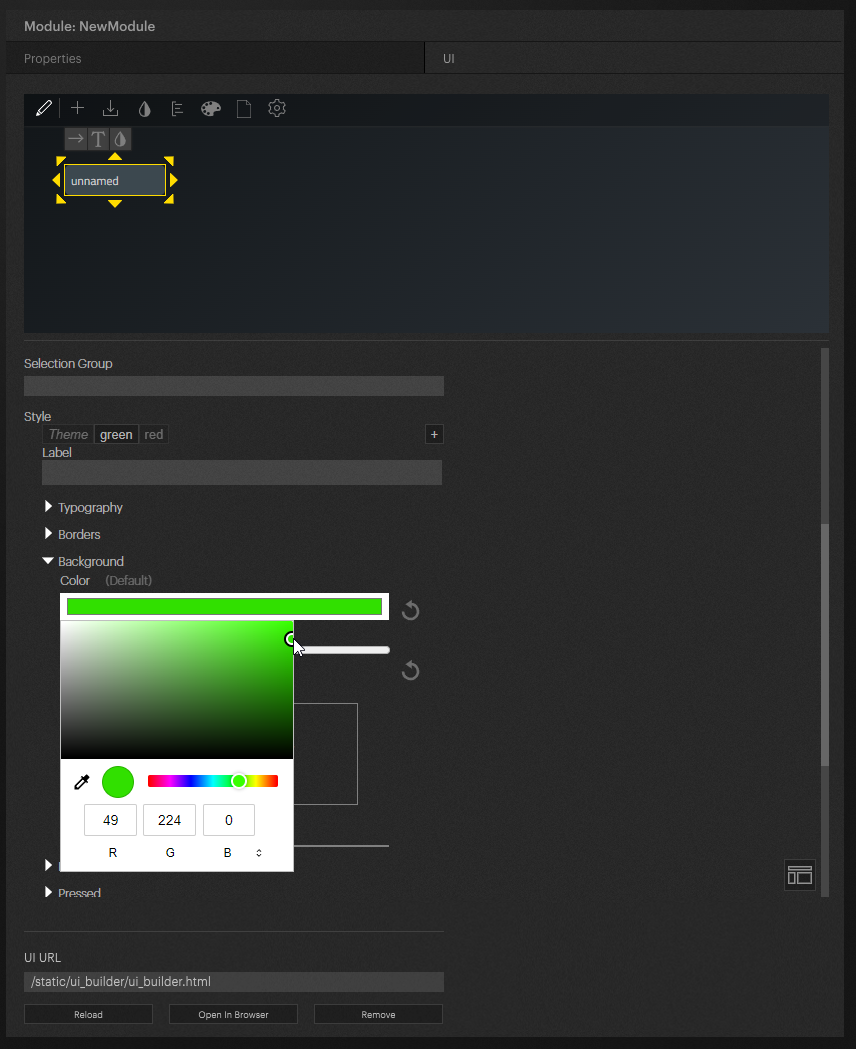
In this example, each Style has its own background color to easily tell between them. The “green” Style has a green background and the “red” Style has a red background.

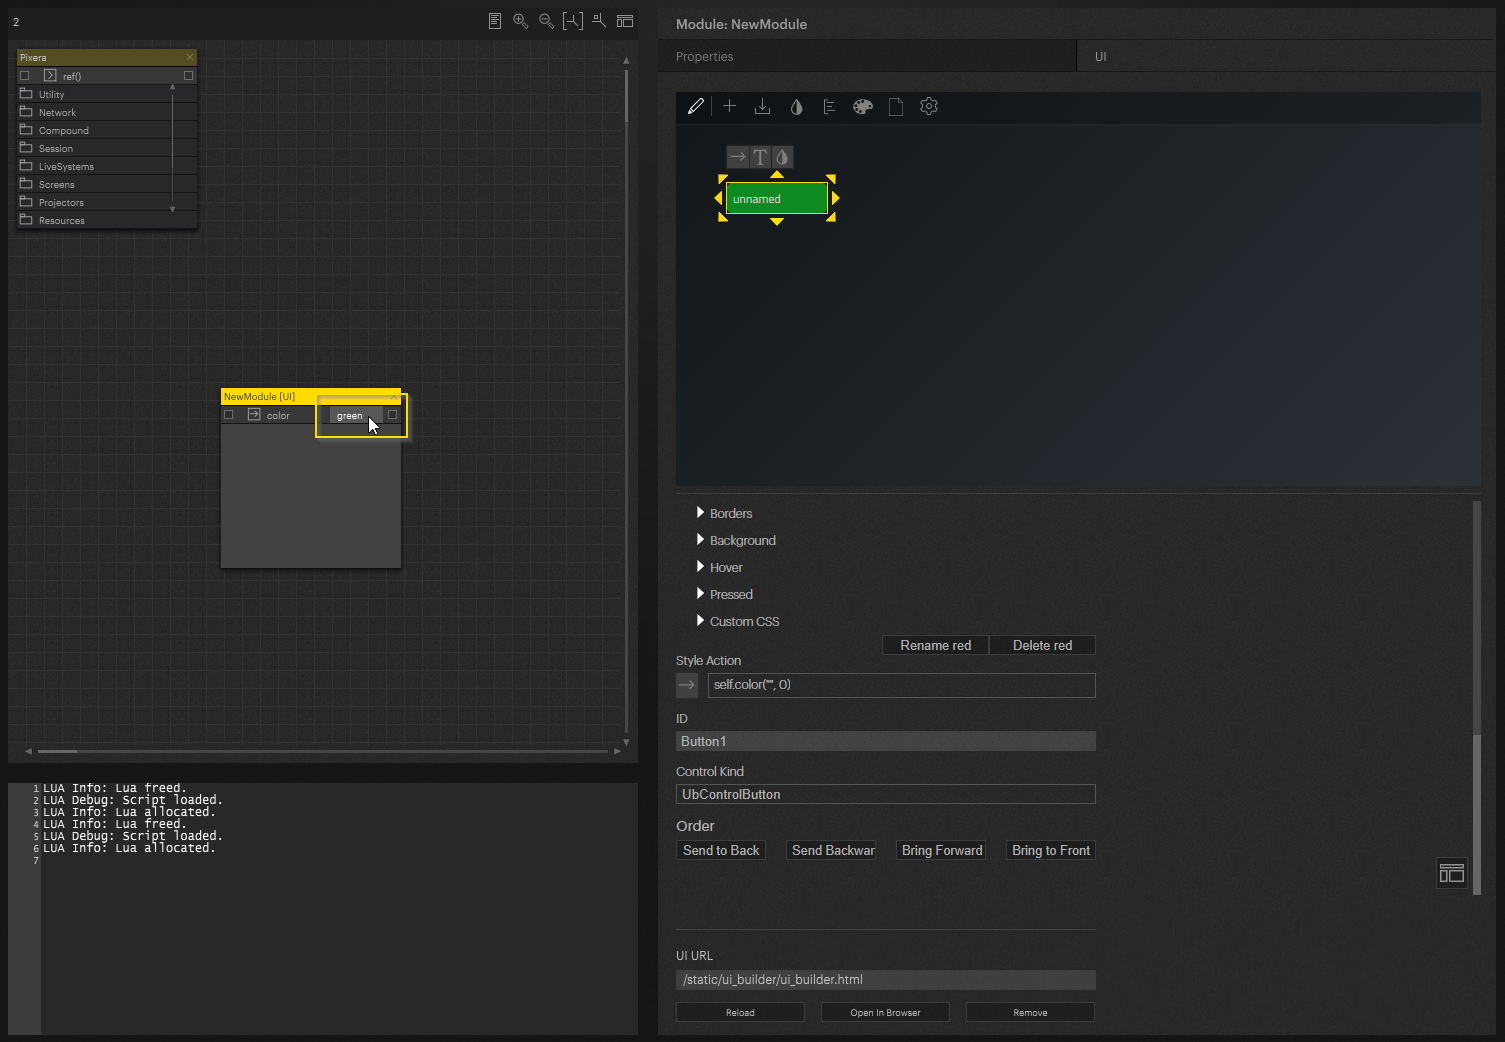
Now you will want to put your “Style Action” to be the Action created earlier, and make sure to save the UI using the store button.

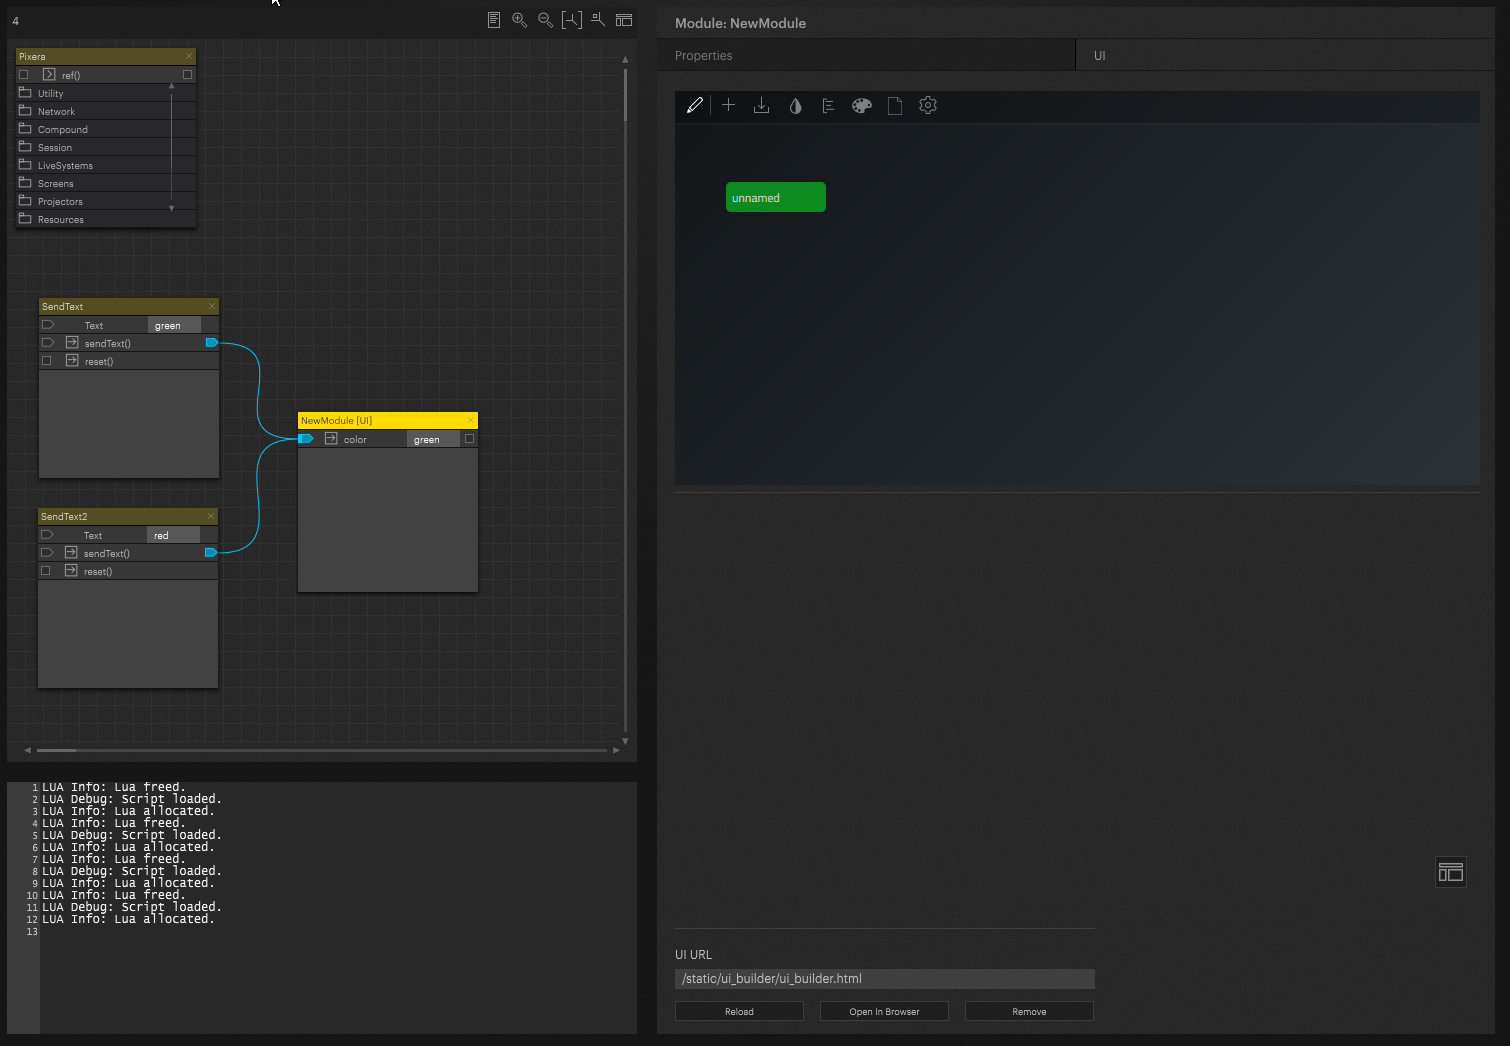
You can now enter the name of the Style you want to use, and the Element will update to that Style with all its set CSS.

There are a variety of ways to create the same functionality, such as using "SendText' Modules to send specific values more easily. You can also manually program with LUA code a way to change the Style based on a check, such as red if a Timeline is stopped or green if playing.

PIXERA 2.0.223 | 18. December 2024 | CL
 Contact Us


