 Contact Us


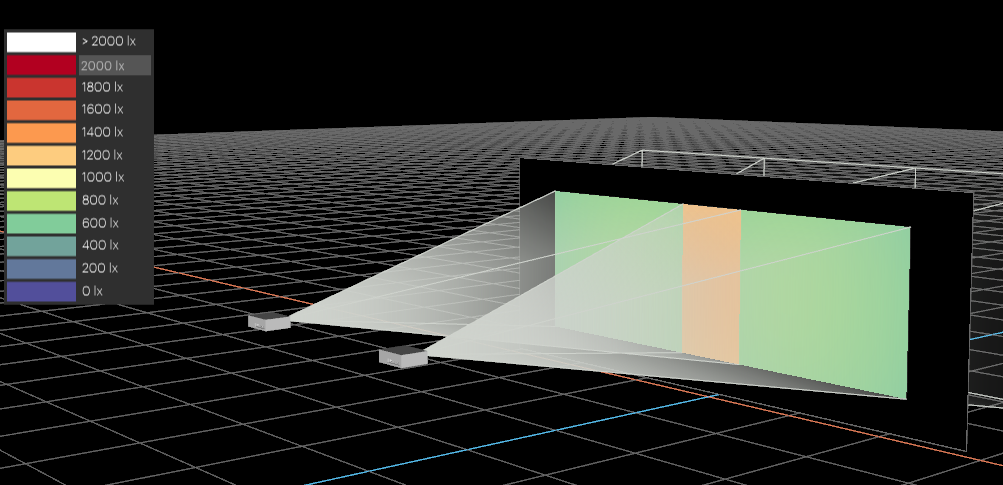
Projector heatmaps are visual representations showing the brightness and temperature distribution of a projector on a surface. They help identify hotspots, uneven illumination, or overheating issues for optimization.
Activate Heat Maps
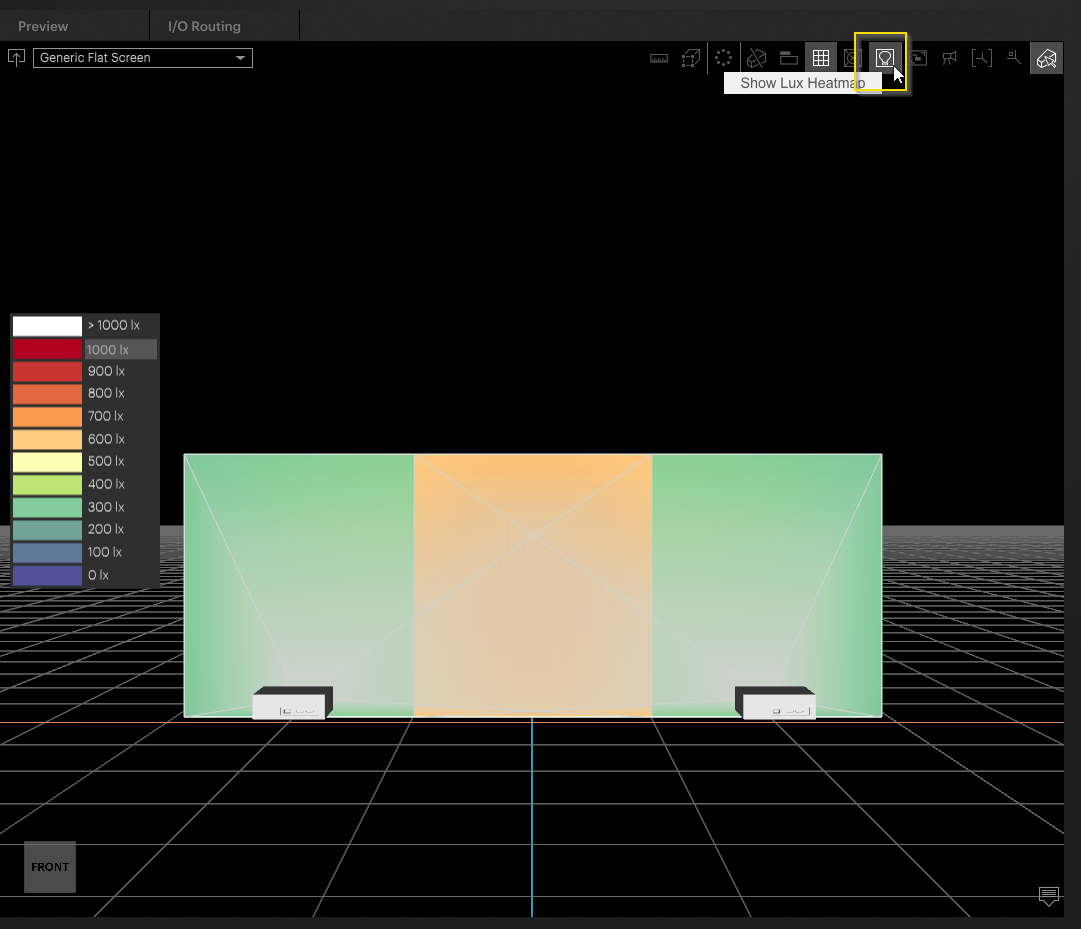
From here, we can see that PIXERA is using the brightness of the projectors and their distance from the screen object to approximate a brightness on the surface.
You can change the scale by typing in a new max here:
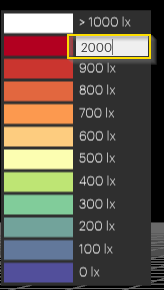
Tip
You can also change the values by left-clicking and dragging the mouse on the scale
This will re-arrange the colors in the workspace to reflect your new scale.
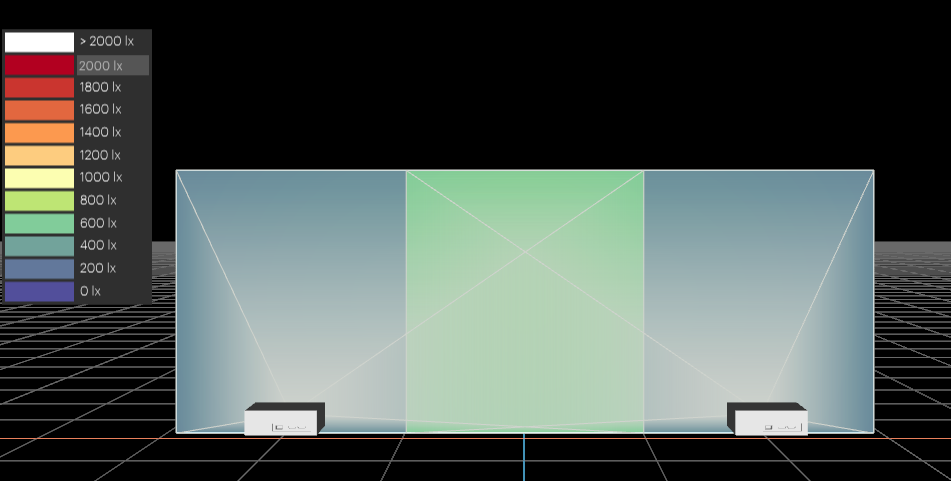
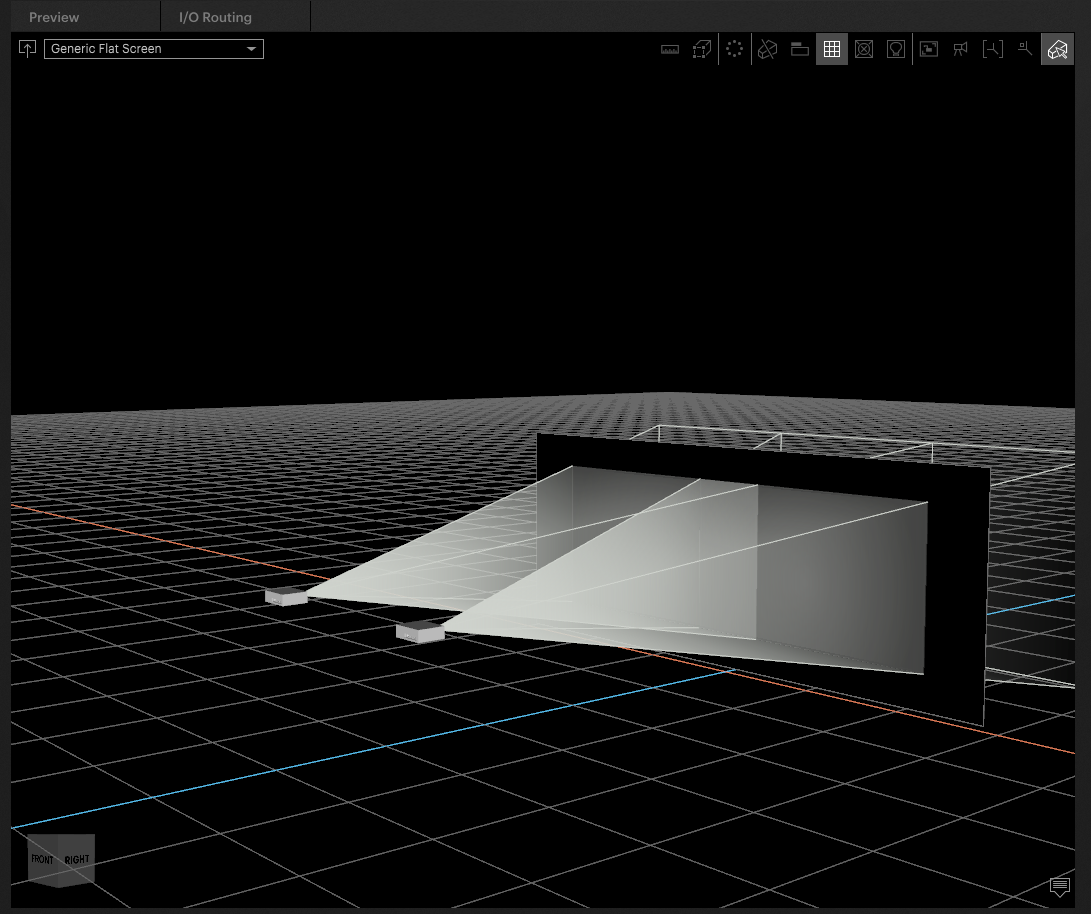
Moving the projectors in the workspace will automatically update the calculations:
Before

After
Press the Heat Maps button again to deactivate.
WARNING
Heat Maps in PIXERA 2.0 provide efficient and visual representations of data patterns, making it easier to evaluate and make decisions regarding projector brightness. These calculations should be taken as an idea of projector brightness and should not be substituted for a projector study.
PIXERA 1.9.136 | 06. September 2023