Contact Us


Creating a User Interface
You don’t need a lighting desk or an external console to control your projects. The Control UI gives you the possibility to create your own user interfaces, which can be used in your browser throughout the network.
To create a new UI, select a Module, switch to the UI-tab and press “Add UI”. By clicking on the plus-symbol in the upper left corner you can add different control elements like buttons and sliders.
Creating a PLAY Button in the UI
The most basic operation is to start the timeline. Functionalities can be added to a control device (like a button) in four ways. The fastest one is to do it directly in the UI without the need of a separate action.
- Go to the UI and create a new button (select a Module, switch to the UI-tab and press “Add UI”, then press on the plus symbol and select “Button”).
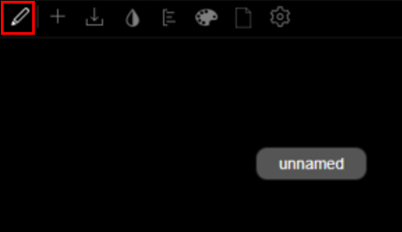
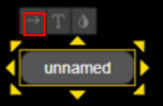
- Enable Edit-mode by pressing on the pencil symbol and select the button.
- Click on the arrow above the button. This will offer you the module from which you want to use an action. In this case we want to work with the Pixera” module.
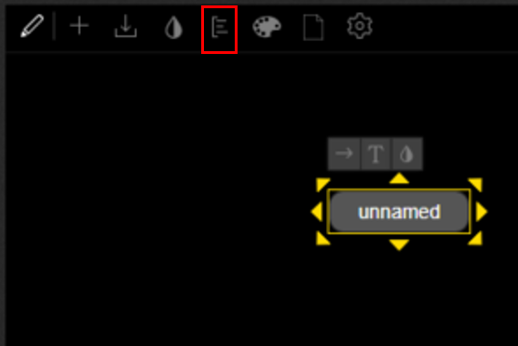
- If “Pixera” is not shown as an option, keep the button selected and click on the expand symbol, which will show you all available modules. Select “Pixera”.
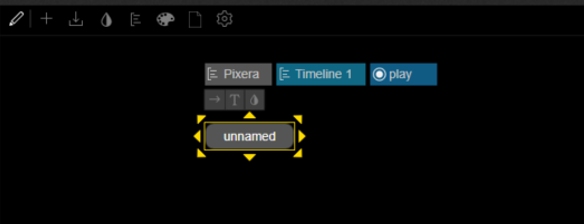
- Click on the arrow again, select Pixera → Timelines → Timeline1 → play
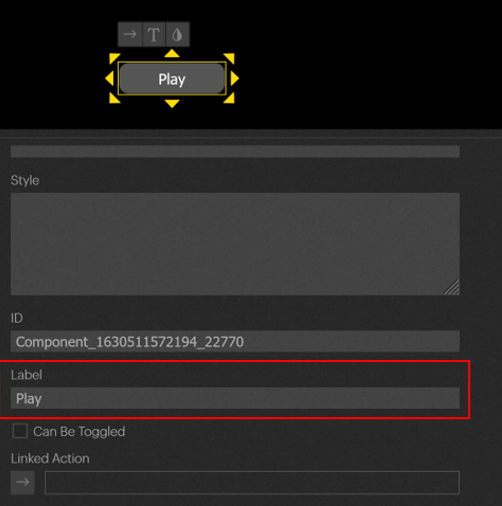
- Rename your button by selecting it and changing the value in the “Label” field.
- Don’t forget to save the UI changes with the save button inside the UI. PIXERA’s project-save button won’t recognize changes inside the UI or the scripting IDE.
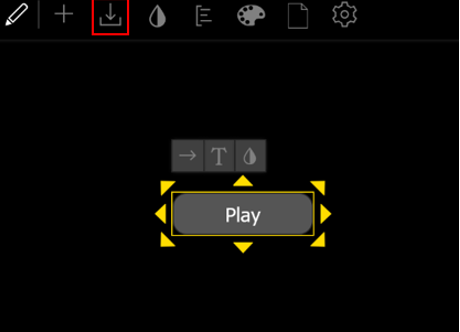
- The PLAY Button is now ready to use. Click on the pencil symbol again to leave the edit mode.
- To display the timeline inside Control, press “Show Timeline” above the top right corner of the viewport.

- If you now press the button, the timeline will start to play.
Sharing your UI
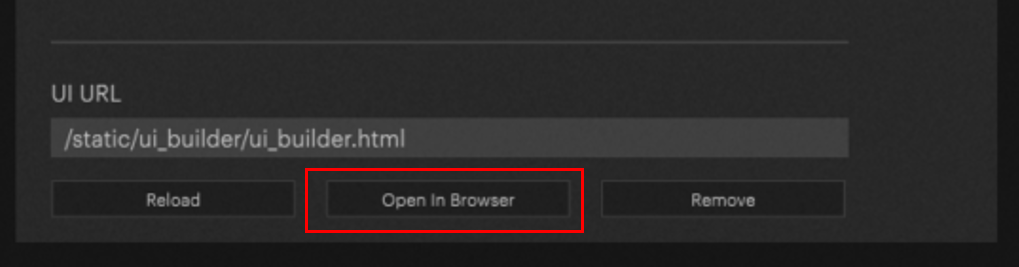
To export the UI press “Open in Browser”. Every device in the same network is now able to access this page via the hyperlink. For instance, if you pass the link to a tablet or mobile phone, you can use it as your control device.
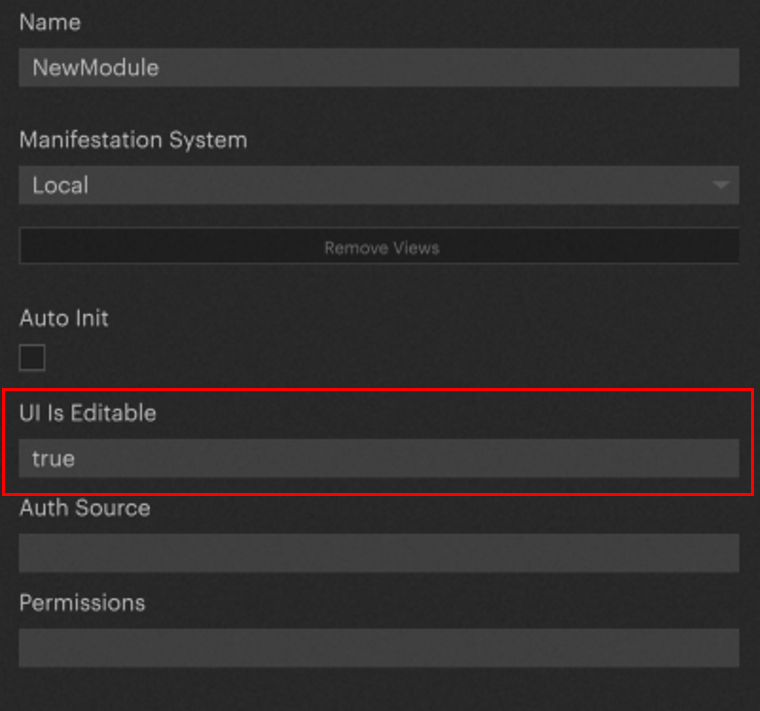
Normally the user shouldn’t be able to switch to edit mode. Therefore, the editability of the UI can be deactivated in the Properties tab of the Module.
Adding pictures and CSS to a module/User interface
If you would like to add pictures and/or cascading style sheets (css) to your user interface, you will need to define a place to store the files.
- Right click on the module name in which the user interface has been created.
- Choose: Store in own Aux Directory
This creates a folder with the module name inside the project folder right next to the session file.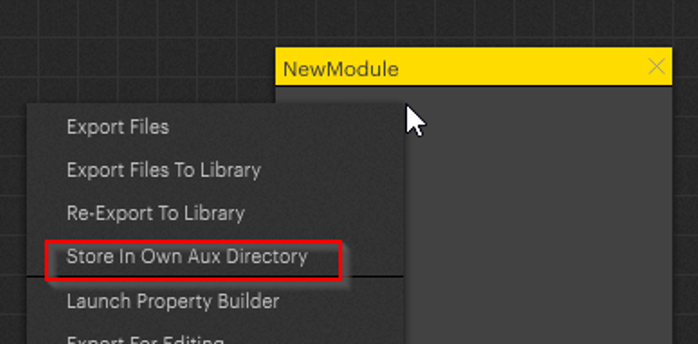
- Right click on the module name again and choose “Show Aux Directory in Explorer”
This opens the explorer showing the folder you have created.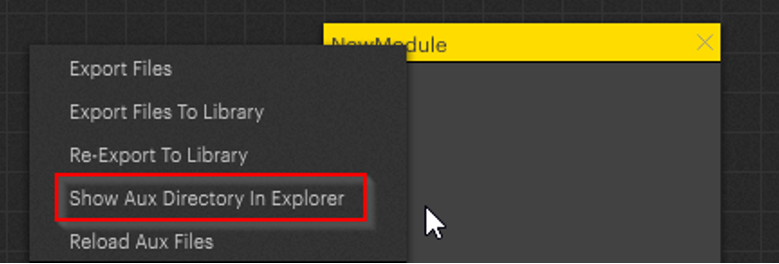
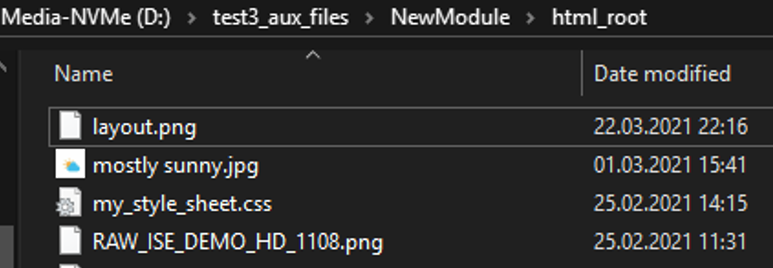
- Double click on the folder. Inside the folder you will find the
- HTML_root folder > drop all your content (pictures, CSS files) into this folder
- main.json > this is the complete json representation of the module
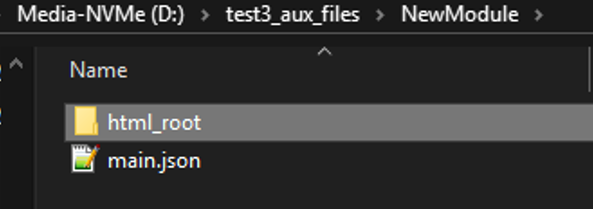
- Open the html_root folder and place all your pictures and CSS files into the folder
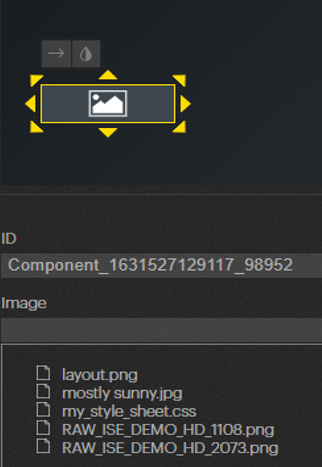
After doing so, the media files will be ready to be used either in the image user element or the global style sheet setting.