 Contact Us


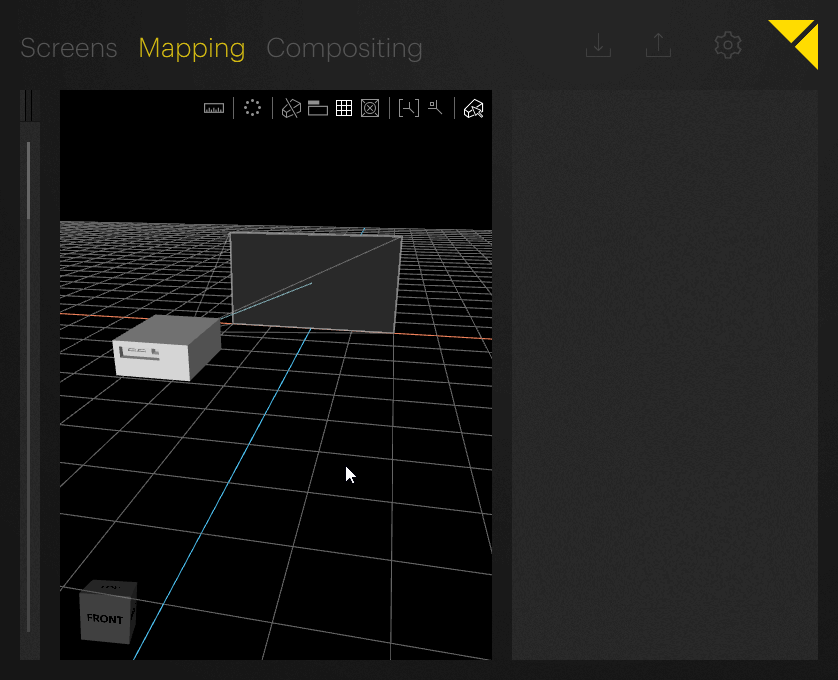
101: Projector Setup
The projector’s internal parameters (field-of-view, aspect ratio, resolution, etc.) as well as its pose (position and rotation in space) will determine how the image will appear on the screen. Pixera’s Mapping mode allows for precise planning of projection elements (screens and projectors) in relation to each other. Further, the video output has to be patched to the projector.
Adding a projector to the scene
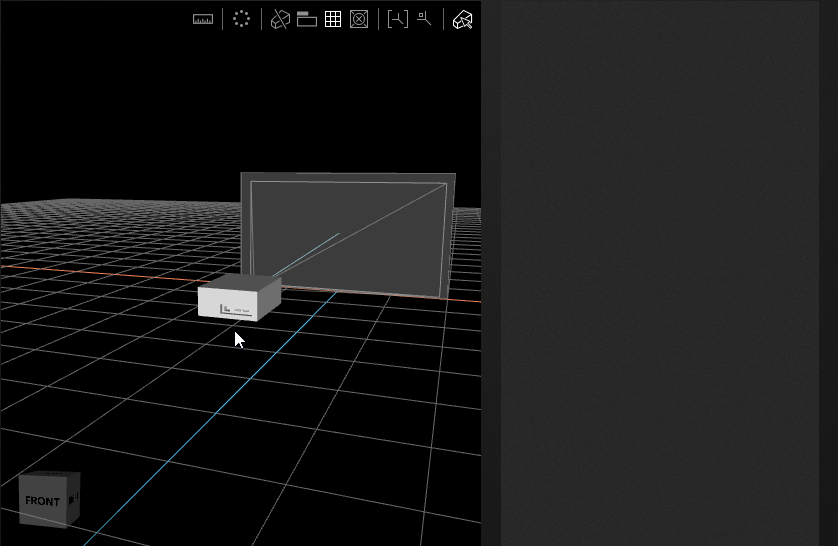
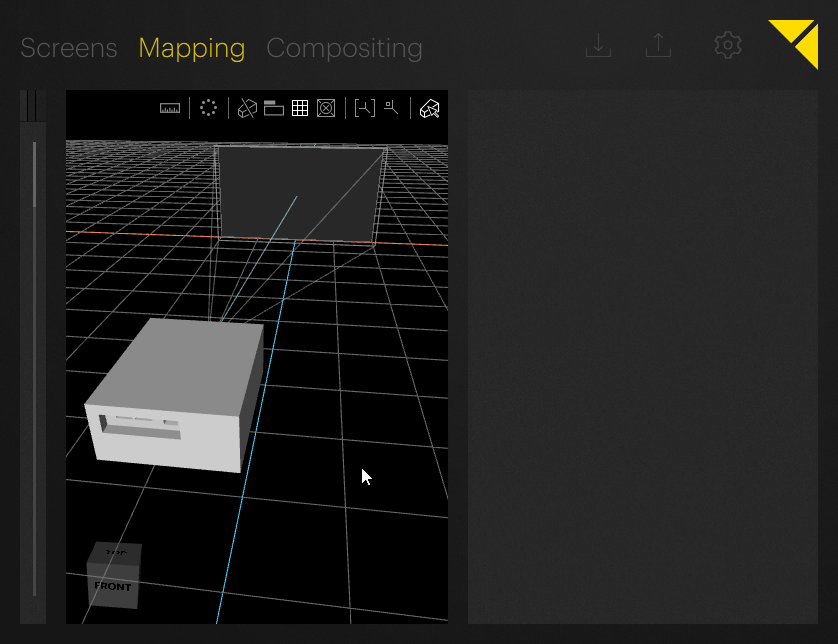
On entering the Mapping mode, two things can be observed: In the Workspace, all available screens will be grayed out and cannot be selected or modified any more. This prevents unintended changes of the screens when working on setting up the projectors. Furthermore, the Selection Pane to the left of the interface will now display the categories Library, Project and Live.
The Library category contains a large database of available projector models on the market with their respective internal parameters. For projectors with exchangeable lenses, different lens models can be selected and adjusted.
For this example, a Panasonic PT DZ16K2 will be chosen as projector.
- Make sure Pixera’s Mapping mode is active.
- Select the Library category and scroll down to Panasonic.
- Open up the manufacturer’s category and scroll down to the model PT DZ16K2.
- Drag the projector to the Workspace using the left mouse button.
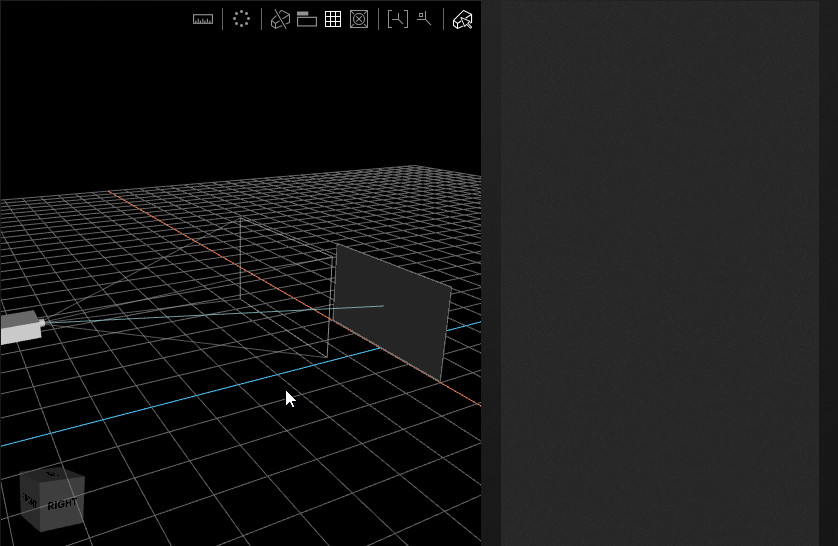
- Release the mouse button. The projector and its frustum (projection cone) is now visible in the scene.

Adjusting the projector's properties
This sample project will assume a predefined position of the projector 10m away from the screen, at 2.25m height and turned upside-down. Pixera conveniently helps to select a matching lens for this scenario. After defining the projectors position and rotation, select a lens and set parameters like throw ratio and lens shift.
Adjusting the projector’s position in the Inspector
The inspector allows numerical input of the projector’s position. The position values represent the origin of the projection frustum.
- Select the projector in the Workspace.
- In the Inspector, scroll to the Position input fields and enter '0' / '2.25' / '8' for the X / Y / Z input fields.
- To rotate the projector upside down, enter a value of 180 degrees in the Z-rotation input field or manually rotate the projector in the Workspace.
Because of the big distance, the frustum does not appear to hit the projection screen, even though on the screen itself the area hit by the projector is highlighted. To get a better understanding of the spatial relation between projector and screen the projection plane can be moved to the same Z-position as the screen.
- Hover over one side of the projection plane of the projector to highlight it.
- Press and hold the [X] key on your keyboard. (This will lock the position of the projector in place while the projection plane is being moved.)
- While still holding the [X] key, click and drag the highlighted plane towards the screen along the Z-axis. While dragging, also hit the [Shift] key once to restrict movement to the Z-axis only (not doing so will also allow to rotate the projector, which is undesired in this case).
- When the projection plane snaps to the position of the screen, release mouse button and keyboard buttons.
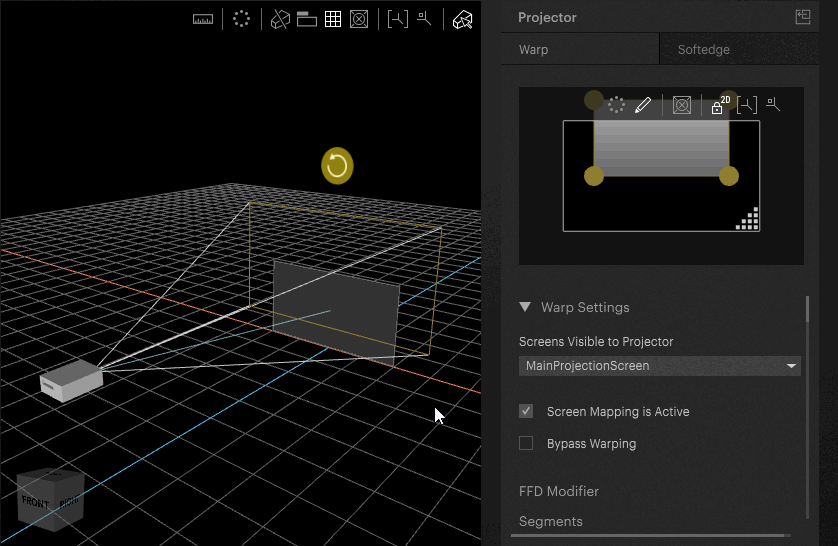
The projection frustum now occupies exactly the space between projector and screen and is a good visual aid for setting up the lens properties.
Selection of lens, throw ratio and lens shift
The Panasonic PT DZ16K2 projector has interchangeable lenses. Pixera has a database of all lenses for this projector model, which helps choosing the right lens for this scenario. To select a lens:
- Make sure the projector is selected in the Workspace.
- In the Inspector, search for the Lens dropdown menu and choose from different lenses. Notice that their different their throw ratios result in different projector frustums.
- Below the Lens selection, Throw Ratio, Vertical Lens-shift and Horizontal Lens-shiftcan be adjusted within the range of the lenses. To demonstrate how easy it is to identify problems or possible solutions with the choice of the lens:
- Choose ET-D75LE30 as lens and set the Vertical Lens-shift to the highest possible value and the Throw Ratio to the lowest possible value. Even though the throw ratio is at its widest angle, the frustum does not cover the entire screen area.
- Choose ET-D75LE10 as lens. Adjusting Throw Ratio and Vertical Lens-shift will always cover an area much greater than the screen.
- Choose ET-D75LE20 as lens. Adjust the Vertical Lens-shift and Throw Ratio so the projection plane covers the whole screen.
The last selected lens is the best choice for this setup, as it easily covers a slightly greater or smaller area of the screen depending on the adjustment of the Throw Ratio. When setting up the projectors on location, one can be sure to have enough headroom on lens-shift and zoom to adjust for deviations.
Pixel-perfect projection
While Pixera makes it easy to handle all sorts of mapping challenges, the highest production quality will only be achieved when the real-world projectors are aligned perfectly with the screen and the rendered output is not warped or scaled otherwise. Furthermore, there are situations in which it might be necessary to accomplish warping and blending task outside Pixera (e.g. in the projectors directly or in screen management systems).
Rendering a screen's content pixel-perfect (i.e. without any scaling or warping) can be achieved in two ways:
- Bypassing Pixera's warping engine (see below)
- Perfect alignment of the projector to the screen in Pixera's Workspace
- Either manually moving the projector in place, as described previously
- Or by using the Auto Transform Editor .
Bypass Warping
The easiest solution to keep the projector its current position and ignore all warping and scaling processes is to Bypass Warping for the selected projector. The projectors output will then show the rendered composition, regardless of its position in the workspace or the relation to the screen.
- Select the projector in the Workspace.
- In the Inspector, enable Bypass Warping by ticking its checkbox.
Note, that the screen's canvas will turn dark gray in the warping window to indicate the Bypass Warping setting.
Assigning a video output
To finalize the setup of the projector, a graphics card output has to be assigned to the projector:
- Select the projector in the Workspace.
- In the Inspector, search for the Output selection field. By default, this is set to None.
- Clicking the selection field opens a small window where all local and network connected video outputs are listed hierarchically.
- Select an output by ticking the checkbox next to the output name and hit OK.
Note that by default, the outputs are not activated. By hitting [F5] on the keyboard all outputs can be activated at once. Hitting [Shift]+[ESC] deactivates all outputs again.